Small Things: Fuel Filter, Seat Belt Orientation and Oil Sender
Joe Angell
In between replacing the ball joints and bearings and the parts of hte car that broke while driving it, I took care of a few other odds and ends that had been bugging me.
Seat Belt Orientation
My seatbelt had a twist in it. I’d tried to straighten it, but then the buckle as facing the wrong way and I’d have to twist it again. I finally realized I was going about this all wrong and that the fix was quite simple.
The first step is to remove the twist from the seatbelt. There’s a bolt under the door sill that secures the body to the frame, and that also holds the seatbelt on at the floor. You just remove the bolt from the inside of the car. I used a ratcheting 17mm box wrench to get it off. You then just spin around the base of the belt and put the bolt back in. Make sure the base of the belt is pointing forwards, with the belt more toward the front of the car, before you cinch down the bolt.
Now I had the problem of the buckle facing the wrong way. This is also very easy to fix, I just didn’t think of it before for some reason. You fold the belt lengthwise, then slide the buckle over the folded part. As you do, you pull the folded part so that it unfolds in to the other side of the seatbelt. Now it’s pointing the right way.
The seatbelt is now untwisted, but the buckle is pointing the wrong way.
Using a 17mm box wrench to reinstall the lower seat belt/body bolt. Note that the seatbelt bracket is pointing forwards.
Folding the belt allows you to slide the buckle over it and effectively twist the buckle around so it is facing the right way.
The reorient buckle.
Seat Belt Buttons
One other bonus is that I replaced the broken thing that holds the seatbelt up with a button that Adam Harriot found on Amazon. They come in kits of 5, so you’ll have enough for two cars, and include a sharp awl to poke though the seatbelt. The two-piece button has a post that pushes through the belt and snaps into the other side of the button. Much cleaner than the original bar, and it doesn’t cut into you while sitting in the seat like the stock one did. The kit only costs about $7 on Amazon.
To figure out where to put the button, fasten the seatbelt without sitting in the car. That is the minimum size of the belt, and if you put the button just behind the buckle it will guarantee that you won’t find that the belt buckle won’t move far enough down the belt, and it will still hang in a good position near your shoulder when unbuckled.
Oil Pressure Gauge Sender
On the way home from a trip to Connecticut, my oil pressure gauge decided to stop working and point straight up. This probably meant something broke on the sender. I peeked down by the alternator at a gas station and found that the wire was just dangling free of the sender. It looked like the tab on the sender had broken off.
That’s not where the sender is supposed to point.
The tab on the sender just snapped off.
Luckily, the sender is easy to replace. I ordered a new one from a DeLorean vendor and got to work putting it on the car.
You can theoretically remove just the sender, but it’s hard to get a wrench on it with the oil filter in the. way, so I removed that too. Later I realized that I might have been able to reach a wrench through the back and peek through a gap in the exhaust system, but it was still easier to remove the filter. I tried to use a strap wrench to get the filter but resorted to a more destructive wrench style and put on a brand new filter.
The sender has a hexagonal base that you need to use a wrench on. It is built from two cylinders of sheet metal that fit into each other, and if you try to turn the end of the sender, you’ll just spin the outer casing. I had so much trouble getting a grip with the wrench that I put another wrench on the first wrench so that I could turn that to break the sender free.
Using a more destructive oil filter wrench to firmly grip and remove the filter after my strap wrench didn’t provide enough torque.
Using a wrench on another wrench at the base of the sender to actually remove it from the car.
The old and new senders side by side on the bench.
Once the sender is out, you just screw the new one in. People often wrap the threads with teflon tape first, so I did that as well, but I’m not sure how much it would leak (if at all) if I hadn’t. It can be a little tricky to get the angle right when screwing the filter on, since it’s slightly tilted.
Teflon tape added to the sender threads.
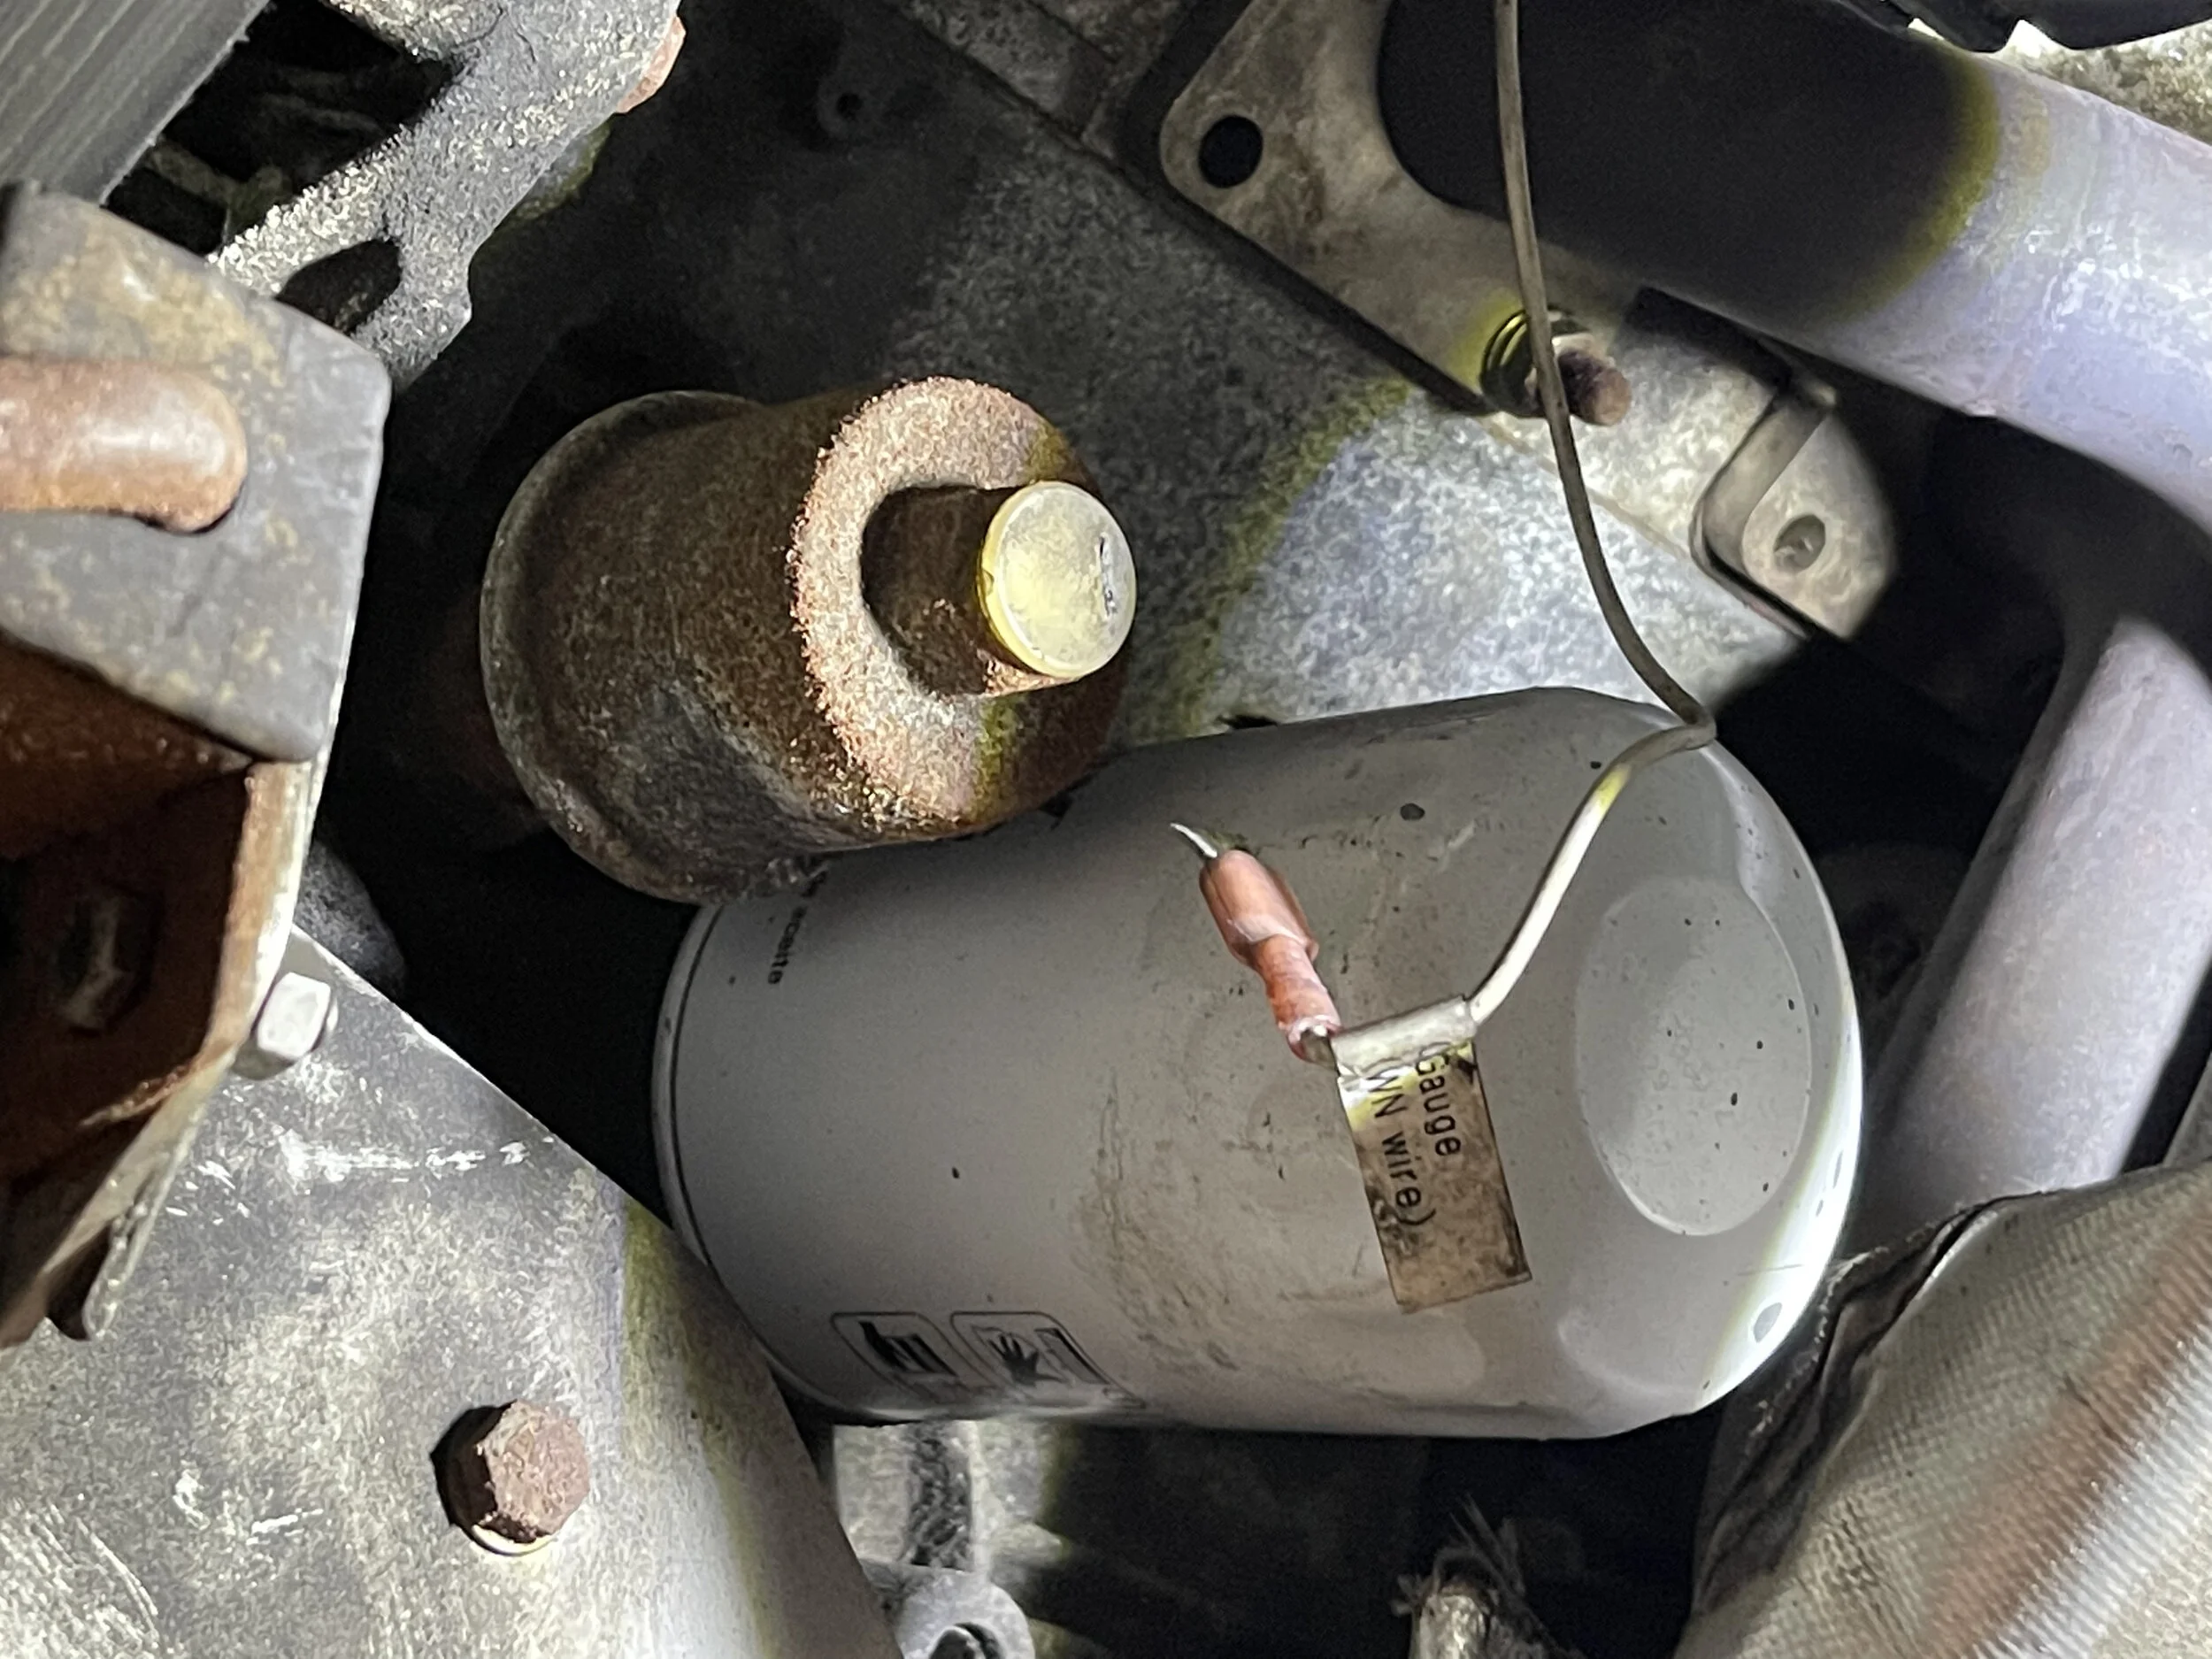
A view of the wrench around the hexagonal base of the sander, as seen from behind the engine.

A more distant view of the wrench on the sender, to give a better sense of where everything is.
After that, I put a little oil on the oil filter seal and screwed that back in, and plugged back int he sender, and my oil gauge read properly again.
A bit of oil on the new filter before installing it, to make sure it seals.
Everything installed and ready to go.
Fuel Filter
On most DeLoreans, the fuel filter is under the car, mounted to the frame, and a pain to get to. I moved mine up to the firewall in the engine bay when I did the 3.0L EFI conversion, which made it a lot easier.
The filter is installed pretty simply: a bracket secures it to the car, and you just loosen the screws and it comes out. I installed my rivnuts a tiny bit too far apart to properly hold the filter, so it’s more just mounted snuggly than really tight.
It’s easier to take the fuel lines off before removing the filter. There are hexes built into the filter so that you can hold it in place with one wrench while you twist off the fuel fitting with another. In my case, I also had adaptors from the stock filter fittings to the AN-6 fuel fittings of my EFI system. The simplest thing to do was remove the fuel lines, then remove the adaptors, transfer them to new filter, and reattach the lines.
I had let my car sit overnight before doing this. That ensured that the system as depressurized and wouldn’t spray fuel everywhere as I disconnected the lines. I didn’t account for the fact that the filter was full of fuel, though. I plugged the bottom with my thumb tipped it over a gas can so as not to make any more of a mess than I already had.
The new filter from DeLoreanGo came with a new foam strip to protect the can from the bracket (I attached it to the filter instead of the bracket), and new copper sealing washers. For some reason, I hadn’t put the washers on the old filter when I’d previously installed it, so I didn’t do it this time either. The result was fuel leaking out the bottom of the filter when I turned the key. I tried to tighten it more, but it didn’t work. And since the system was now pressurized, removing the hoses sprayed fuel everywhere.
At this point I took the filter back out of the car and actually used the copper washers. There’s a recess for one on the bottom, and I put one on the top as well. After reinstalling the adaptors and attaching the fuel lines, the system properly pressurized without leaking.
The newly installed filter next to the old filter. Notice the fuel pressure on the gauge I have reads zero, because I did this with the fuel system depressurized.
Installing a new copper washer and my existing AN-6 adaptor onto the new filter.
The fully pressurized fuel system, ready to go with no leaks.