Losing a Ball Joint Nut on the Highway
Joe Angell
Just one week after replacing my alternator and breaking my throttle cable, it was time to go to the North East Regional DeLorean September Tech Day in Springfield, MA, about 90 miles from my house. It was being held at John Dowd’s shop, which has a two post lift and two four post lifts, plus a lot of work space, tools and hardware for us to use.
I loaded up the car and got onto 495 north. I thought it was odd that the steering wheel had to be turned about 45 degrees right to go straight, but everything else seemed fine, and I figured I’d look at it once I got to Springfield.
As I went down the exist rom from 495 north to 90 west, the right side of the car suddenly dropped a couple inches and there was a loud scraping or grinding sound. I was in the left lane of the two lane exit, so I moved over to the right and turned on the hazards. There was no breakdown lane, and I definitely didn’t want to block a lane on a ramp, so I kept driving until I saw a gravel strip about 100 feet long on the side of the road. A rest area was only a mile away, but I wanted to get off as soon as possible.
The instant I dropped my right wheel onto the gravel, the car jerked to the right and the grinding changed to a dragging sound. I got all the way off the road and shut down the car.
The Damage
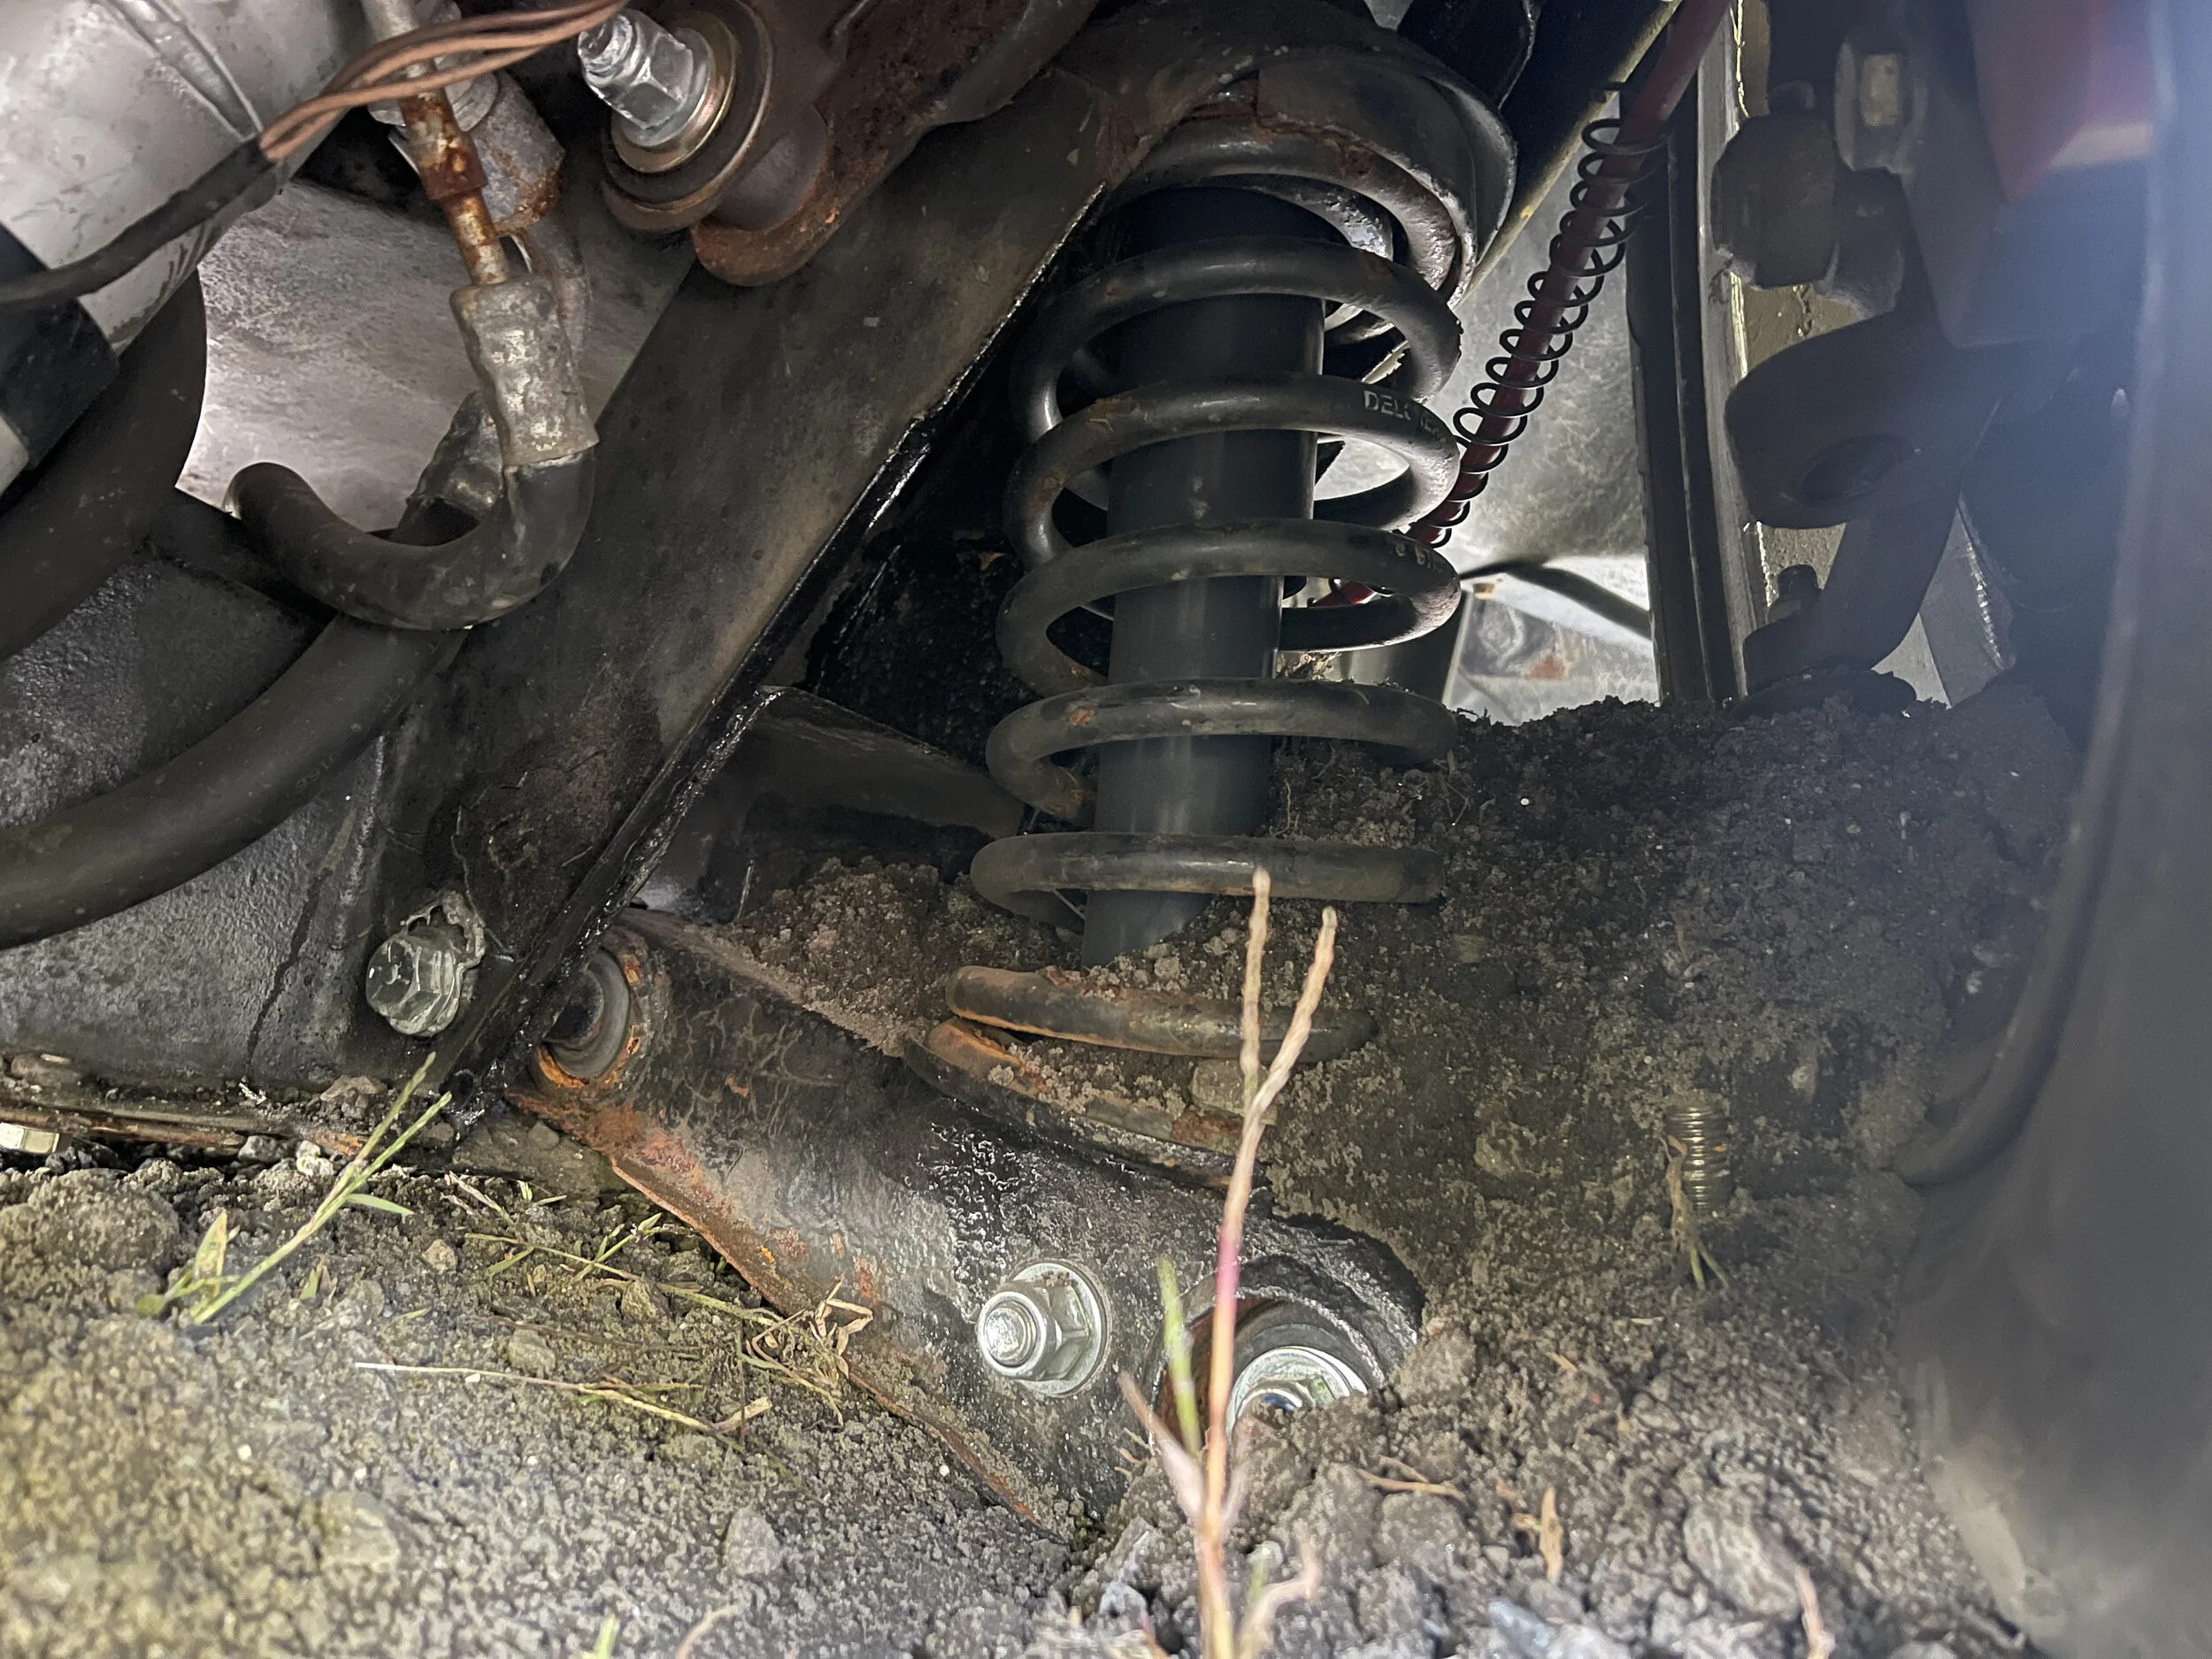
I walked around to the passenger side and found my suspension sitting much lower than normal. A peek under the car saw that the lower control arm was no longer attached to the steering knuckle, and was buried in the gravel.
I used the AAA app to order a tow (AAA Plus in particular is very important to have when you own a somewhat unreliable classic car) and waited. It turns out the state police have a contract for all interstate towing in MA, so AAA called the state police and canceled my call, which was a bit confusing when the app simply said the request was canceled, but a call to AAA cleared it up. AAA still covered the tow, so it was more semantics from my point of view than anything else.
Once the two truck got there, we dug through the gravel with some pry bars i’d bought so that we could fit a floor jack behind the wheel and raise the car. At this point we could see that the nut was missing from the lower ball joint, and the shaft and slipped out of the steering knuckle.
The lower control was scrapped up, but survived without any real damage. The plate I’d welded on the bottom may have saved the arm, as it got ground and slightly dented by the gravel, but also kept it from folding from the impact and dragging. Of course, I’m also the one who put on the nut. There inside of the rim had aluminum shaved away from the control arm sliding against it, but this was purely superficial, and the tire was undamaged.
Approximately where the LCA started grinding against the wheel (taken from the Mach-E)
Still on the on ramp, past the guard rail but still no safe place to pull over.
The gravel strip that I finally pulled over at.
The first thing I saw when I got out of the car.
The LCA buried in the gravel.
The drag mark can be seen behind the car, starting right after the wheel left the pavement. There is no drag mark on the highway itself.
What (Probably) Happened
The best guess is this: the lower ball joint nut had already come loose when I was on 495. This was probably what caused may steering wheel to have to be pulled to the right to go straight. When I was going around the sharp ramp to 90, the nut finally gave way, and the lower control arm dropped onto the rim. That was the loud grinding sound I was hearing. The fact that it hit the rim saved me — if it hadn’t, the arm would have dug into the pavement and I likely would have lost control into the guard rail. It’s surprising that I still had sufficient steering control.
There were no drag marks on the highway from the control arm, but there were in the gravel on the side of the road immediately after the pavement. We think that the wheel dropping off the pavement and onto the gravel flexed the suspension system caused the ball joint shaft to finally completely separate from the steering knuckle, and the control arm bounds from the wheel to the gravel, leaving a trail as it went.
This could have been far, far worse. The tow driver said the normally the wheel twists out and the suspension drives itself up through the fender, which in the case of the DeLorean would have also been through the fiberglass underbody, and likely would result in a complete loss of control. It might have totaled the car from that alone, much less crashing into something else, and I very well could have been injured or worse.
Getting Towed
We had to figure out how to get the car out of there. We used the driver’s jack to raise the car itself, and my floor jack (I keep one in the trunk) to raise the suspension. We got the ball joint shaft aligned with the steering knuckle again, but as soon as we lowered my jack it popped back out. I didn’t have any replacements nuts with me (later, we found that I actually did, but didn’t realize it), so the driver used what he called a “control arm carrier” or something like that. Which means, he used a specially-cut block of wood as a sled under my control arm. We took the tire off for this (I had a small battery-powered impact wrench in the car for Tech Day, which made this easy), stowing it in the passenger seat. Some plastic ramps bridged the gap between the trailer bed and the gravel, and he was able to load the DeLorean without any trouble.
While we were getting the car prepped for towing, a second wrecker showed up and parked about a hundred feet behind us. It took me a while to notice that he was there to block for us — sitting on the side of the road, especially at the end of an on ramp, is not a safe place to be. The driver said that they try to look out for each other, and that this isn’t uncommon.
I now had a choice: 30 miles home to my house, where I could do the work on my lift, or 60 miles to Springfield, where I’d have a dozen or so other DeLorean owners to help plus a lift. I decided on the latter. AAA Plus provides 100 miles of towing, so this wasn’t a problem.
Attempting to reinstall the ball joint shaft into the steering knuckle. The shaft can be seen against the black of the shadow of the rotor.
All secured and ready to go, with the wheel supported by a block of wood.
Diagnosis
As soon as we got there, John Dowd got to work. He found two compatible nuts in his shop, put them on the ball joint shaft, and we mounted the wheel and rolled it off the truck.
Once the lift freed up, I circled around with the DeLorean, and right when I reached the door the control arm fell off again. I was only going a couple miles an hour, so the car simply came to a stop. John jacked it up again and put on another nut (both of the ones he’d put on early had fallen off), and we limped it to the lift.
No one wanted to try just putting nuts on it again. Both John and I happened to have upper ball joints with us, but they seem to use a different nut (or at least I couldn’t get it on at the side of the road). Not that it might have mattered anyway. We think the threads on the shaft were damaged at this point.
John tried to find a cross reference part, but they couldn’t get it until the next day. He generously offered to let me borrow his souped-up Mustang so I could get home. That would have been fun, but I couldn’t drive manual well enough to want to risk his transmission. So instead he let me borrow his new Mustang Mach-E. I’d only met John twice before, and he’s letting me borrow a basically new car and storing mine while we wait for a part. He’s a really good guy. All he wanted in return was a case of peach Snapple.
Unfortunately, the part that we found in a cross reference didn’t match what the store actually had, so I ordered new ball joints from DeLoreanGo. I specifically ordered the UK version and the optional castle nuts. The ones I had put in a couple months prior were not drilled for castle nuts, and included nylocks. Either I didn’t put them on tight enough, or the nylocks or threads were faulting. We found that the driver’s side one was not nearly as tight as it should be, even as just a nylock, so I ordered a pair of them. Castle nuts would ensure that this never happened again, and are what the DeLorean included stock.
The control arm shaved a fine strip of aluminum from the inside of the rim.
The welded plate to box in the LCA may have saved it from collapsing, and took the brunt of the damage.
Charging the Mach-E
In the meantime, I had an electric car to play with. Zoe and I already had a Mach-E on order to replace our aging Outback, and this gave me an extended test drive. I definitely like it. Someday I’ll do an electric conversion on my DeLorean, once there are enough junked electric cars out there to scavenge from, and enough affordable controllers to work with.
The Mach-E can charge on 120v, but only at a rate of 2 miles per hour. It would take a few days to completely recharge the battery. Since I planned on going back the next day, I needed another hundred miles of charge sooner than that. At 220v it will charge at about 22 miles per hour, completely charging the car in about 10 hours from empty. A mobile charging kit with both 120v and 220v adaptors is included with the car.
I had planned to just get a NEMA 14-50 socket from the hardware store, wire it to my lift’s power supply and charge from that. However, the breaker on that is only 20A, and you need 40A to charge an electric car on 220v. Even if I’d swapped out the breaker, the wiring in the wall wouldn’t be thick enough and I risked starting a fire, so that was out.
I did, however, have an oven on a 40 amp breaker, and the kitchen isn’t far from the front door. It’s too far for the 12 foot mobile charger cord, though. This is the same plug that is used on ovens, with three vertical blades and a round ground pin. I had run the 6/3 wire from the fuse box to the oven, and I still had about ten feet left over, so I decided to build an extension cord.
I went to Home Depot and bought an enclosed NEMA 14-50 socket, and then Rexel down the street for a plug (which cost three times more than the plug). Assembly is straight forward — neutral to the bottom vertical blade, ground to the round pin, and the other two wires to the other two vertical blades.
It still took me overt an hour to do. The reason is that 6 gauge wire is thick. You can’t just bend it with your hands. I used a knife to strip off the insulation, then pliers to bend the wires into their approximate positions in the plug. You have to plan this out, making sure that the wires don’t interfere with each other or the case that they’ll be installed in. Once correctly bent, I could insert them into their receptacles and tighten the screws.
The extension cord worked perfectly, and in a few hours the Mach-E was fully charged. I topped it off with 120v later in the week before I took it back to Springfield.
My extension cord plugged into my oven outlet.

The cord running across my kitchen floor and out the front door.
The end of the cord is plugged into the Mach-E’s mobile charger, which then is plugged into the car itself.
Installing the New Ball Joints
We pressed out the old ball joints on the car with a ball joint press kit. This went well enough, and they came out easily.
Putting them in was slightly tricky. For one, the hollow cylinders in the press kit were too big for the ball joint. John had a large selection of sockets, though, so we were able to find one that would work, and eventually got the first ball joint in.
We still had to finesse it a bit, though. The snap ring didn’t want to fit, and we did a few more attempts at pressing it just a bit more to get it into position. Finally, John just tapped the ring with a hammer until it seated properly.
The new ball joints were specifically purchased with castle nuts, so named because they look like the tops of the turrets on a castle. Once the nut is on, a pin is inserted through hole in the shaft, which also runs through one of the gaps in the nut. This ensures that even if the nut tries to turn, it’s not going to be able to turn far, and certainly won’t spin off.
Of course, I didn’t pay enough attention when we installed the first ball joint and forgot to orient the hole for the pin down the length of the car. This wasn’t a problem until I tried to install the pin, which promptly hit the knuckle. A combination of pulling with pliers and tapping the cotter pine halves apart with a screw driver finally got it in place. They uses some super heavy duty cotter pins on these ball joints, much stronger than the ones in the basic seat I bought online, and they were very hard to bend, but I’m confident I’m not losing a ball joint again.
For the passenger side, we correctly oriented the ball joint shaft and had a much easier time with the pin, although it was still quite difficult to bend the ends. We also thought to properly wipe down the area above and below the ball joint mounting surface so that it would seat more easily, and clean off around the lock ring. All this made installation easier.
Wrong way — the pin will hit the steering knuckle when you try to insert it, no matter how far you turn the wheel.

Right way — the pin is completely clear of the knuckle.
A New Speedometer Hall Sensor Bracket
While I worked on the ball joints, John worked on a new bracket for my speedometer Hall sensor. He had noticed that the bracket I had barely reached half way across the teeth on piece that I’d mounted on rear axle. Since he has a Bridgeport milling machine, he offered to make me a new one from aluminum stock. It fits perfectly, with correctly-sized slotted holes for the transmission mount and Hall sensor mount, rounded edges, and the ideal length to center the sensor over the teeth at the correct distance. On my drive home, the speedometer was now rock steady, and didn’t jump by a few MPH like it did before due to poor alignment.
John also helped me install some weather stripping around the radiator and fan cowling in order to ensure that the fans are really pulling air through the radiator and not around it. He said this has kept his car running remarkably cool, to the point that it’s hard to actually get it hot at all. I’ll cover this in a separate post in the future.
John milling a new speedometer bracket on his Bridgeport.
The new bracket installed and properly aligned, giving me a stable pulse for my speedometer.
John was a huge help with this. He immediately got to work on my car with no hesitation, let me keep it there for a week on his lift while we waited for the part, and let me borrow his new car to get home, fabricated a new bracket for me, and didn’t ask for anything in return. He even cleaned my wheels while they were off. I couldn’t ask for more.