Installing an Eagle Starter
Joe Angell
My 15 year old starter finally went on me. It had done pretty well, and was a high-torque one recommended by a friend. Then one day it required a few more turns of the key to get it to actually turn the motor (the solenoid engaged, but the motor wouldn’t turn). By the third day, I had to spend about two minutes turning the key to get it to start. I decided to drive home rather than be stuck at my next errand.
I decided to keep things simple and go with an 1989 Eagle Premiere starter from Rock Auto, which seems to be the favorite aftermarket starter these days.
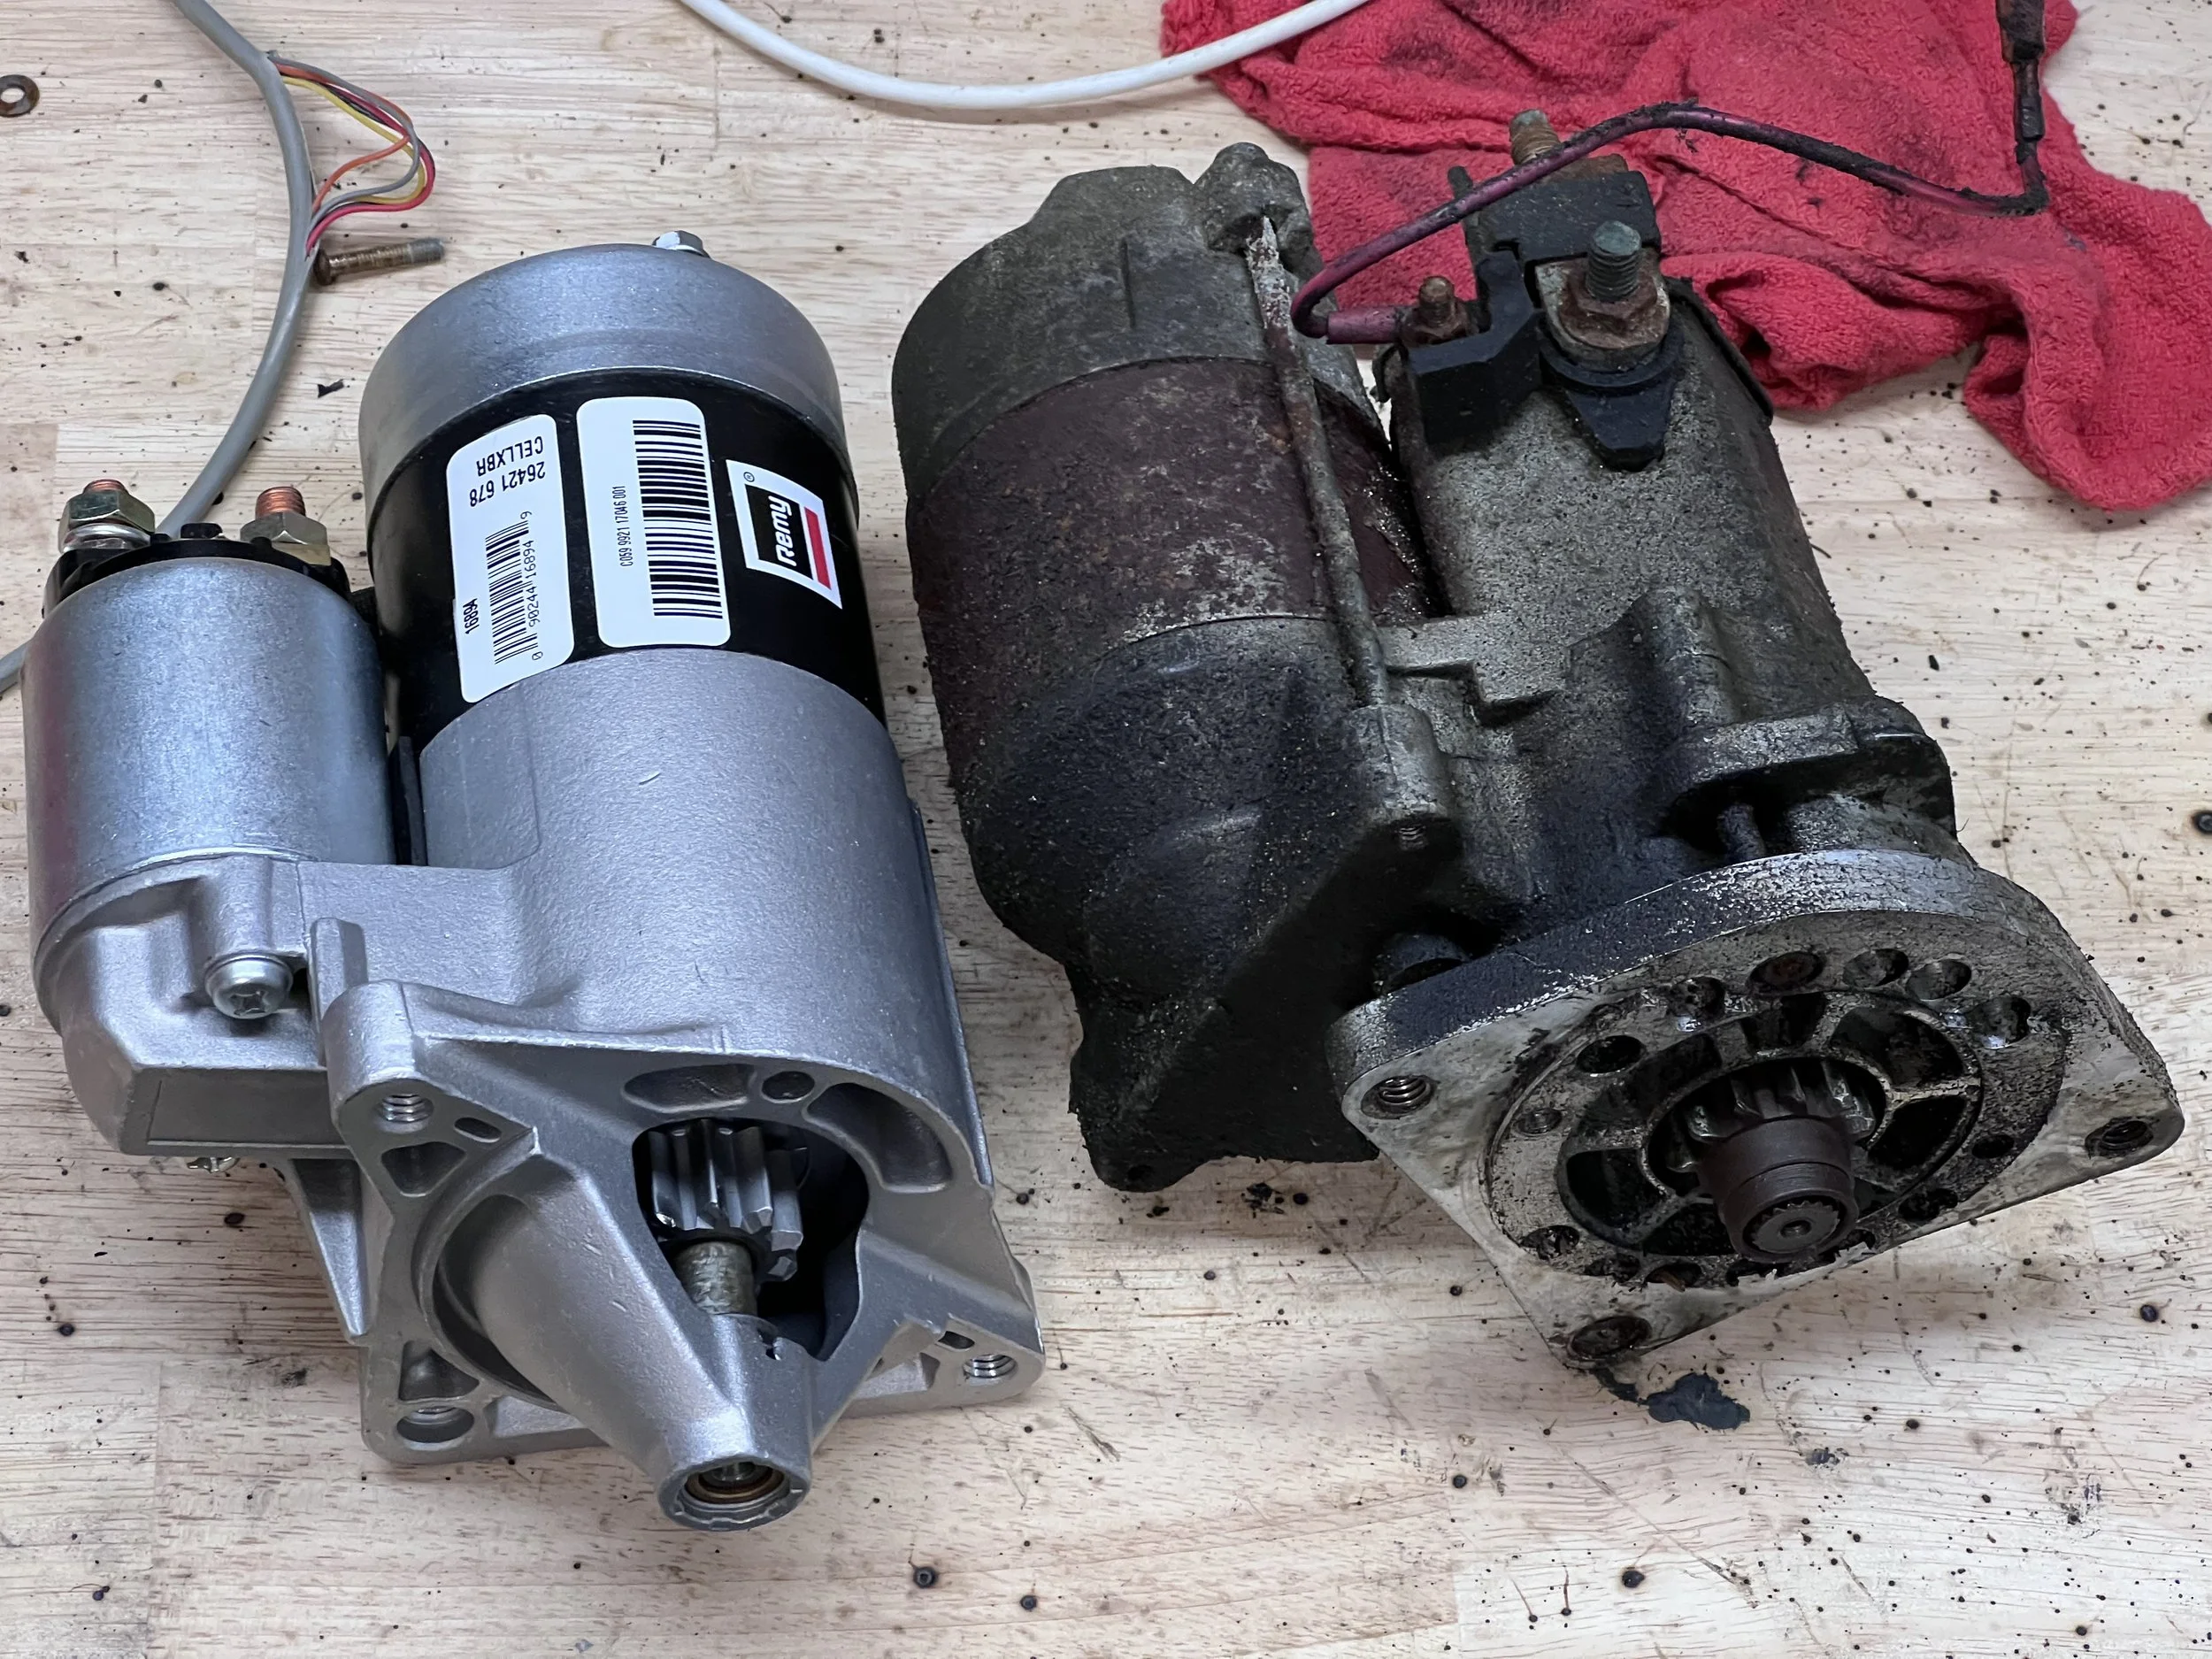
The new and old alternator, side by side.
The other ends of the alternators.
I started by disconnecting the battery, since there are very heavy wires that go right to the battery, and I didn’t want those shorting against anything.
Since I have headers, they have to come out to replace the starter. This isn’t an issue on a stock car. Removing the header involves removing six M6 nuts with an 11mm socket, which I did from under the car. Half of them took the studs out with them, which was fine. A set of wobble extensions help a lot here. You should really replace the exhaust gaskets, but mine weren’t that old, so I just reused them. For the collector to exhaust, three more bolts needed to be removed with a 9/16” wrench and socket, I was then able to twist it out of the car and set it aside.
Using a couple of wobble extensions to reach one of the header nuts.
The engine after removing the header.
The starter is secured by three nuts on the front of the transmission. The top one in particular is a bit hard to reach, and you need to have just the right length of extension (or combination of them, or some wobble extensions) to get to it. After I broke them free I used a power driver to remove them the rest of the way, since they are long bolts and I don’t want to turn a wrench that many times by hand.
Using a power driver to remove the bolt after I broke it free with a socket.
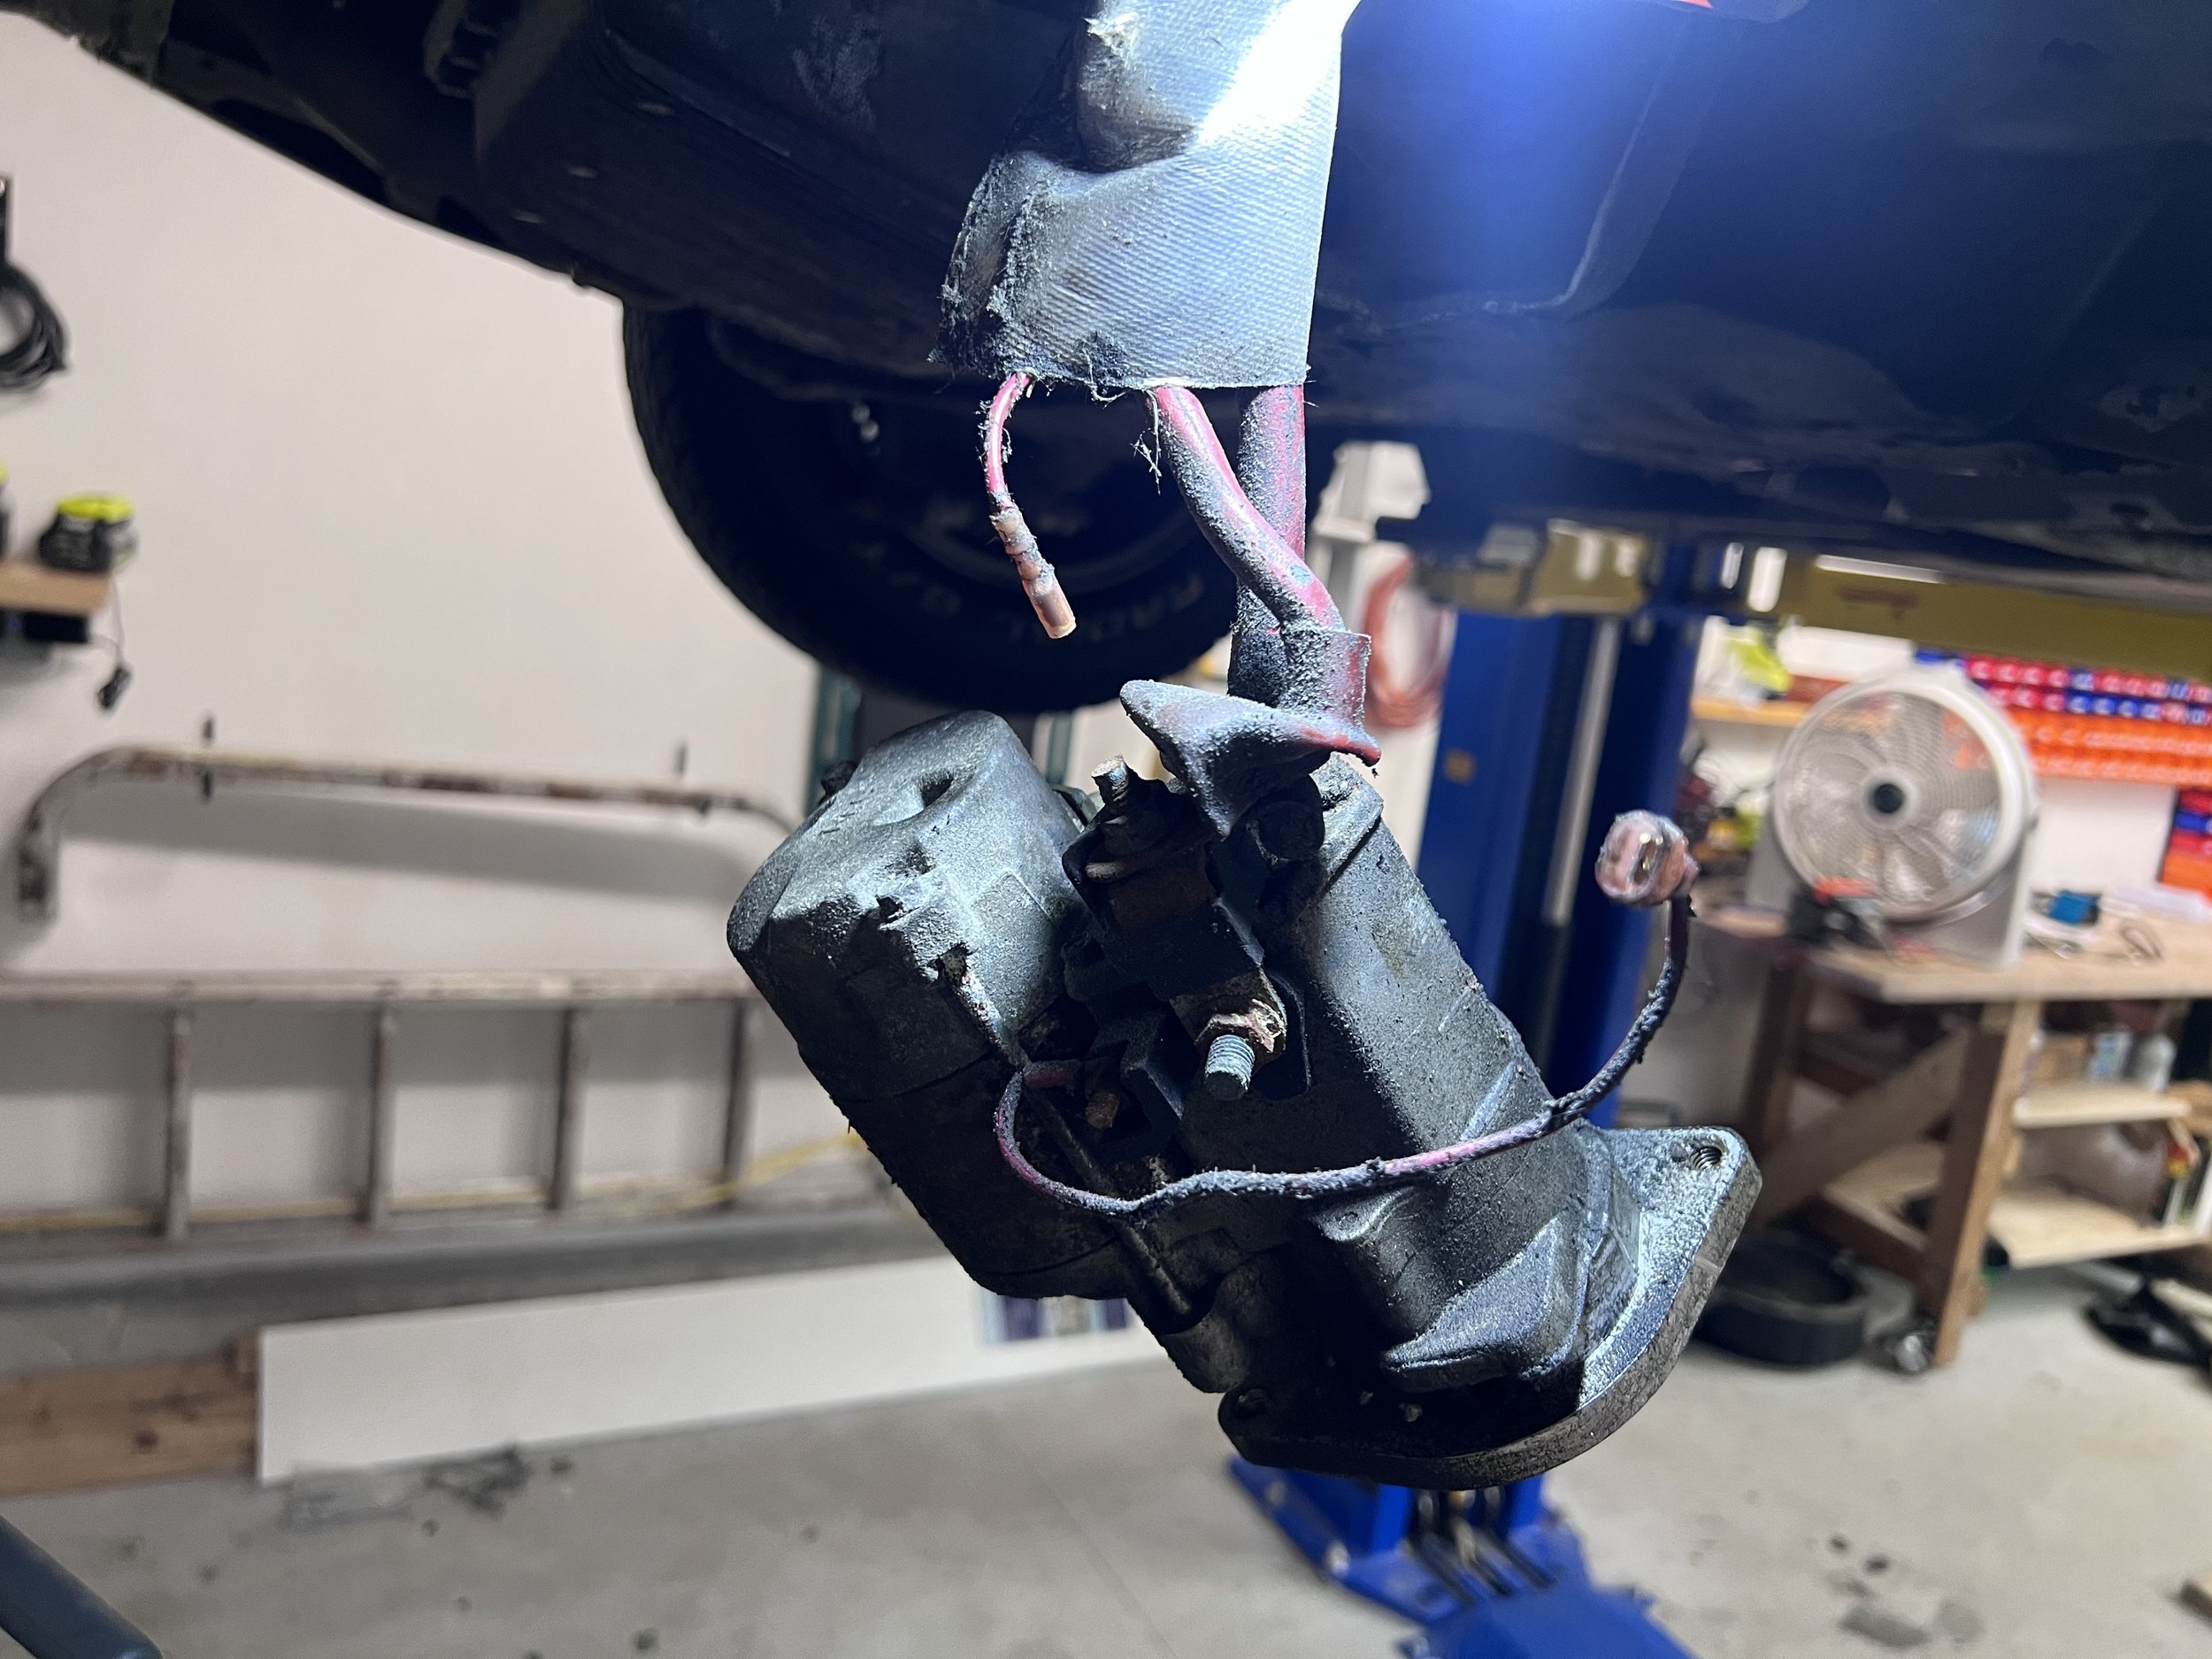
The starter hanging from the power wires. I had already unplugged the solenoid connection.
My starter used a 12mm socket to remove the power wire.
The main power cable was easily transferred between starters. I didn’t put it on too tight, since I figured I’d need to rotate it as I mounted the starter. I also swapped the solenoid wire from the old starter to the new one, after crimping on a new end.
Note that there are two posts on the starter for the main battery cable. You want to connect it to the outermost post. There’s a diagram on DMCTalk.org that makes this clear.
If you have a ballast resistor (most do, but if you’ve done an HEI or 3.0L EDIS conversion, you won't), you’ll need to swap that wire over too. I don’t, due to my EDIS setup.
Before installing the starter, make sure the the shim is between the starter and the transmission, or you might hear some grinding noises once the starter retracts due to spacing issues. You need that spacer.
To get the first mounting bolt in, it’s easiest to hold the starter from the engine side by reaching your arm under the engine cradle, while you are under the transmission feeding the bolt in. A low-torque power driver makes it a lot easier to get the bolt started.
I then reinstalled the header. I couldn’t remember how I got the wires by the first time, so I rerouted them and got the header on, then twisted them until I was sure that the wires were clear of the header and that the exposed end near the starter wasn’t contacting the starter housing, then used a long extension to torque it down. The last step was to plug the solenoid back into the harness and hook up the battery.
The header back in place. Only the collector nuts need to be reinstalled. The reflective sheath protects the wires from exhaust heat.
The transmission side with the starter back in place.
And that’s it. The new starter has a faster, higher-pitched sound than my old one and the stock one, and it’s been working well since I installed it.