Painting the Windshield Trim
Joe Angell
For years my windshield trim has been chipped, revealing the stainless steel underneath. The contrast with the black paint is pretty stark, and I finally fixed it.
Removing the Trim
The trim is screwed in above the windshield, but the screws are covered with the outer door seal, which is glued into place. The seal needs to be peeled away to reveal three screws per door.
After that, just remove the three Phillips screws. The trim is hooked under a bracket, so to remove it you need to lift up the back, then slide it toward the back of the car.
Screws in these holes secure the trim to the top of the car.
The car without the trim.
Removing the Old Paint
I could have just painted over the old paint, but that would have left dips where the old paint had worn away. I decided to strip it all off.
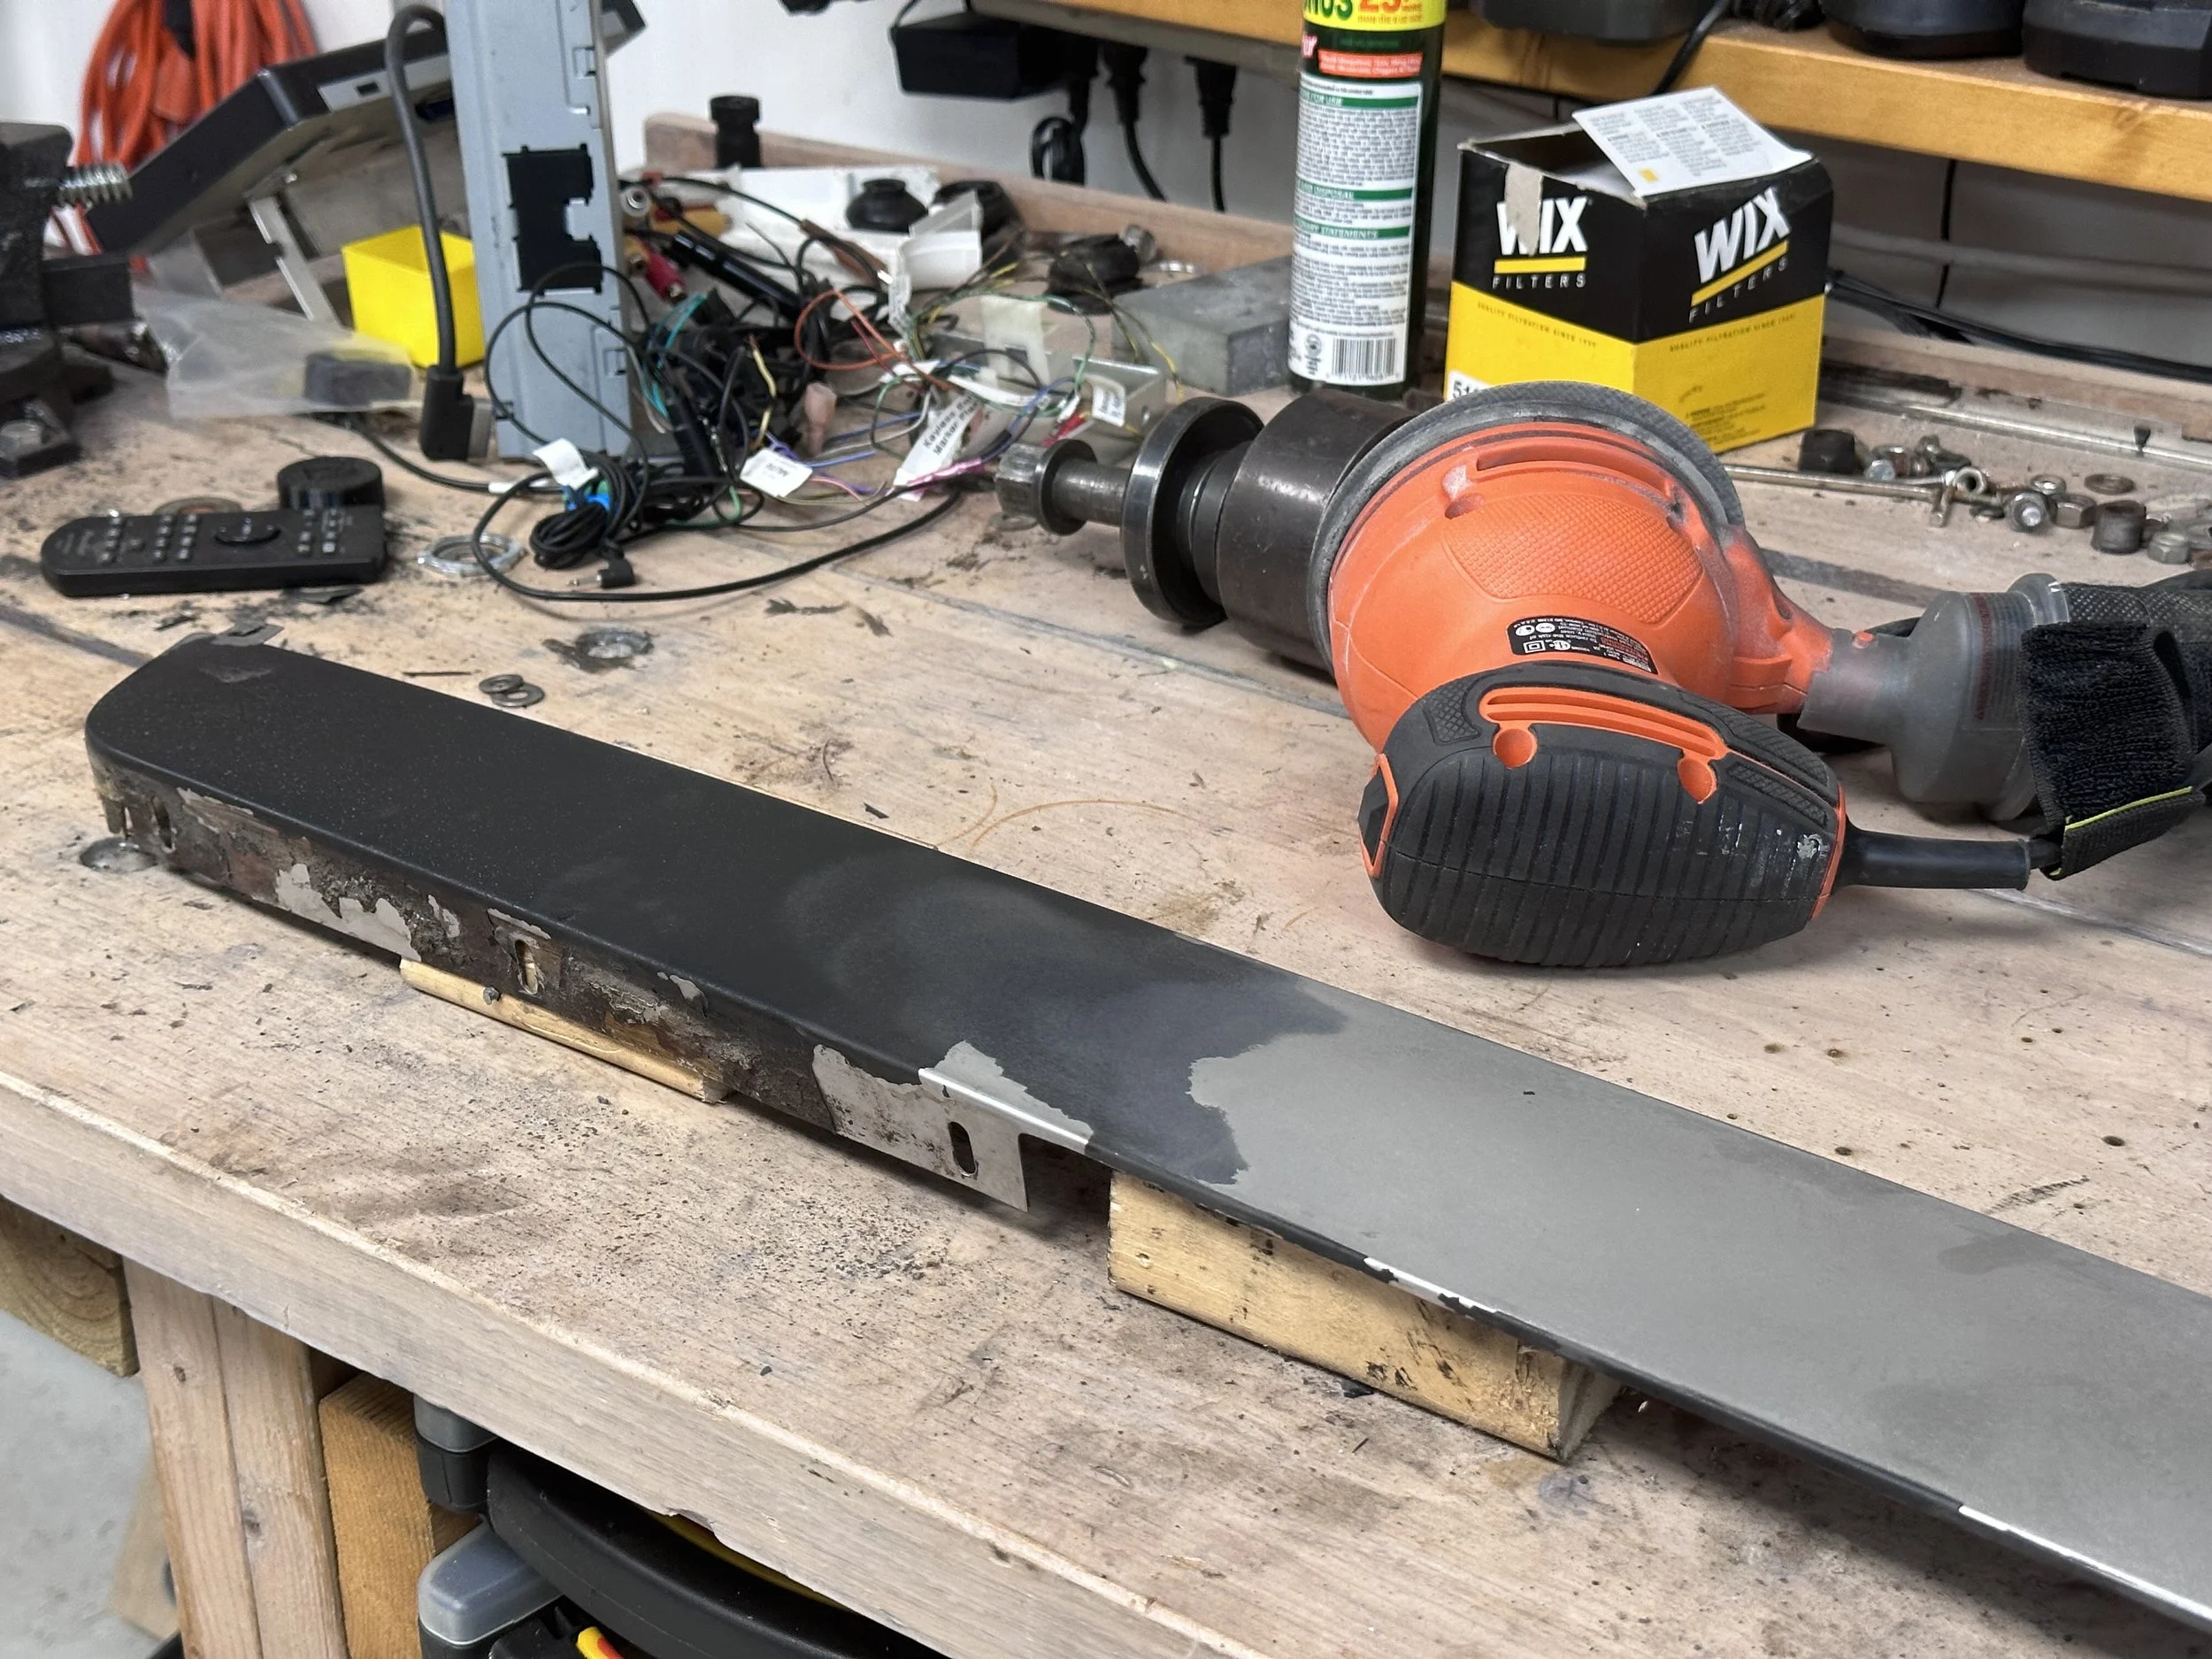
I used a random orbit sander to remove the paint. To reduce the risk of the trim deforming and to be able to apply more pressure, I placed some blocks cut from of a 2x4 underneath. It took about half an hour to remove the paint, and may not have been best way to do it. I went though a few sanding pads of different grits. Once all the paint was off I used the finest grit I had to give it a cleaner finish.
Stripping the paint with a sander.
Some of the paint peeled off by hand, but the sander was needed for the rest of it.
Fully sanded and ready for painting.
Painting
I wiped down the unpainted stainless steel with some Simple Green to get any remaining paint and other residue off before painting. The correct paint for the black trim is SEM 39143 Trim Black, which you can get from Amazon and similar places. The paint went on smoothly, and I had a nice uniform finish in no time. I added a couple more coets to be sure.
Cleaning with Simple Green, although any similar cleaner shoudl do.
Painting with SEM Trim Black to match the original DeLorean trim color.
Reinstalling the Trim
Once the paint had dried, it was just a matter of putting it back on the car. It needs to slide forward to hook under the bracket in the body, then rests in place above the windshield.
The six screws go back in next. Note that the trim has slots for the screws. On my car the screws had to be in the lowest position, with the trim pushed upward as much as possible in order to avoid gaps when the door is closed.
The inner door seal is glued back in place with black 3M weather stripping adhesive. Don’t apply it too high on the seal or it will ooze out and be visible once installed.
I wedged some wood and shims into the gap between the seal and the door frame to apply some pressure while the adhesive dried. I placed the top edge of the seal just below the top of the seal, which worked out pretty well for the final installation.
The trim screwed back onto the car.
Wood strips and shims to apply pressure to the seal while it dries.

Another view of the shims.
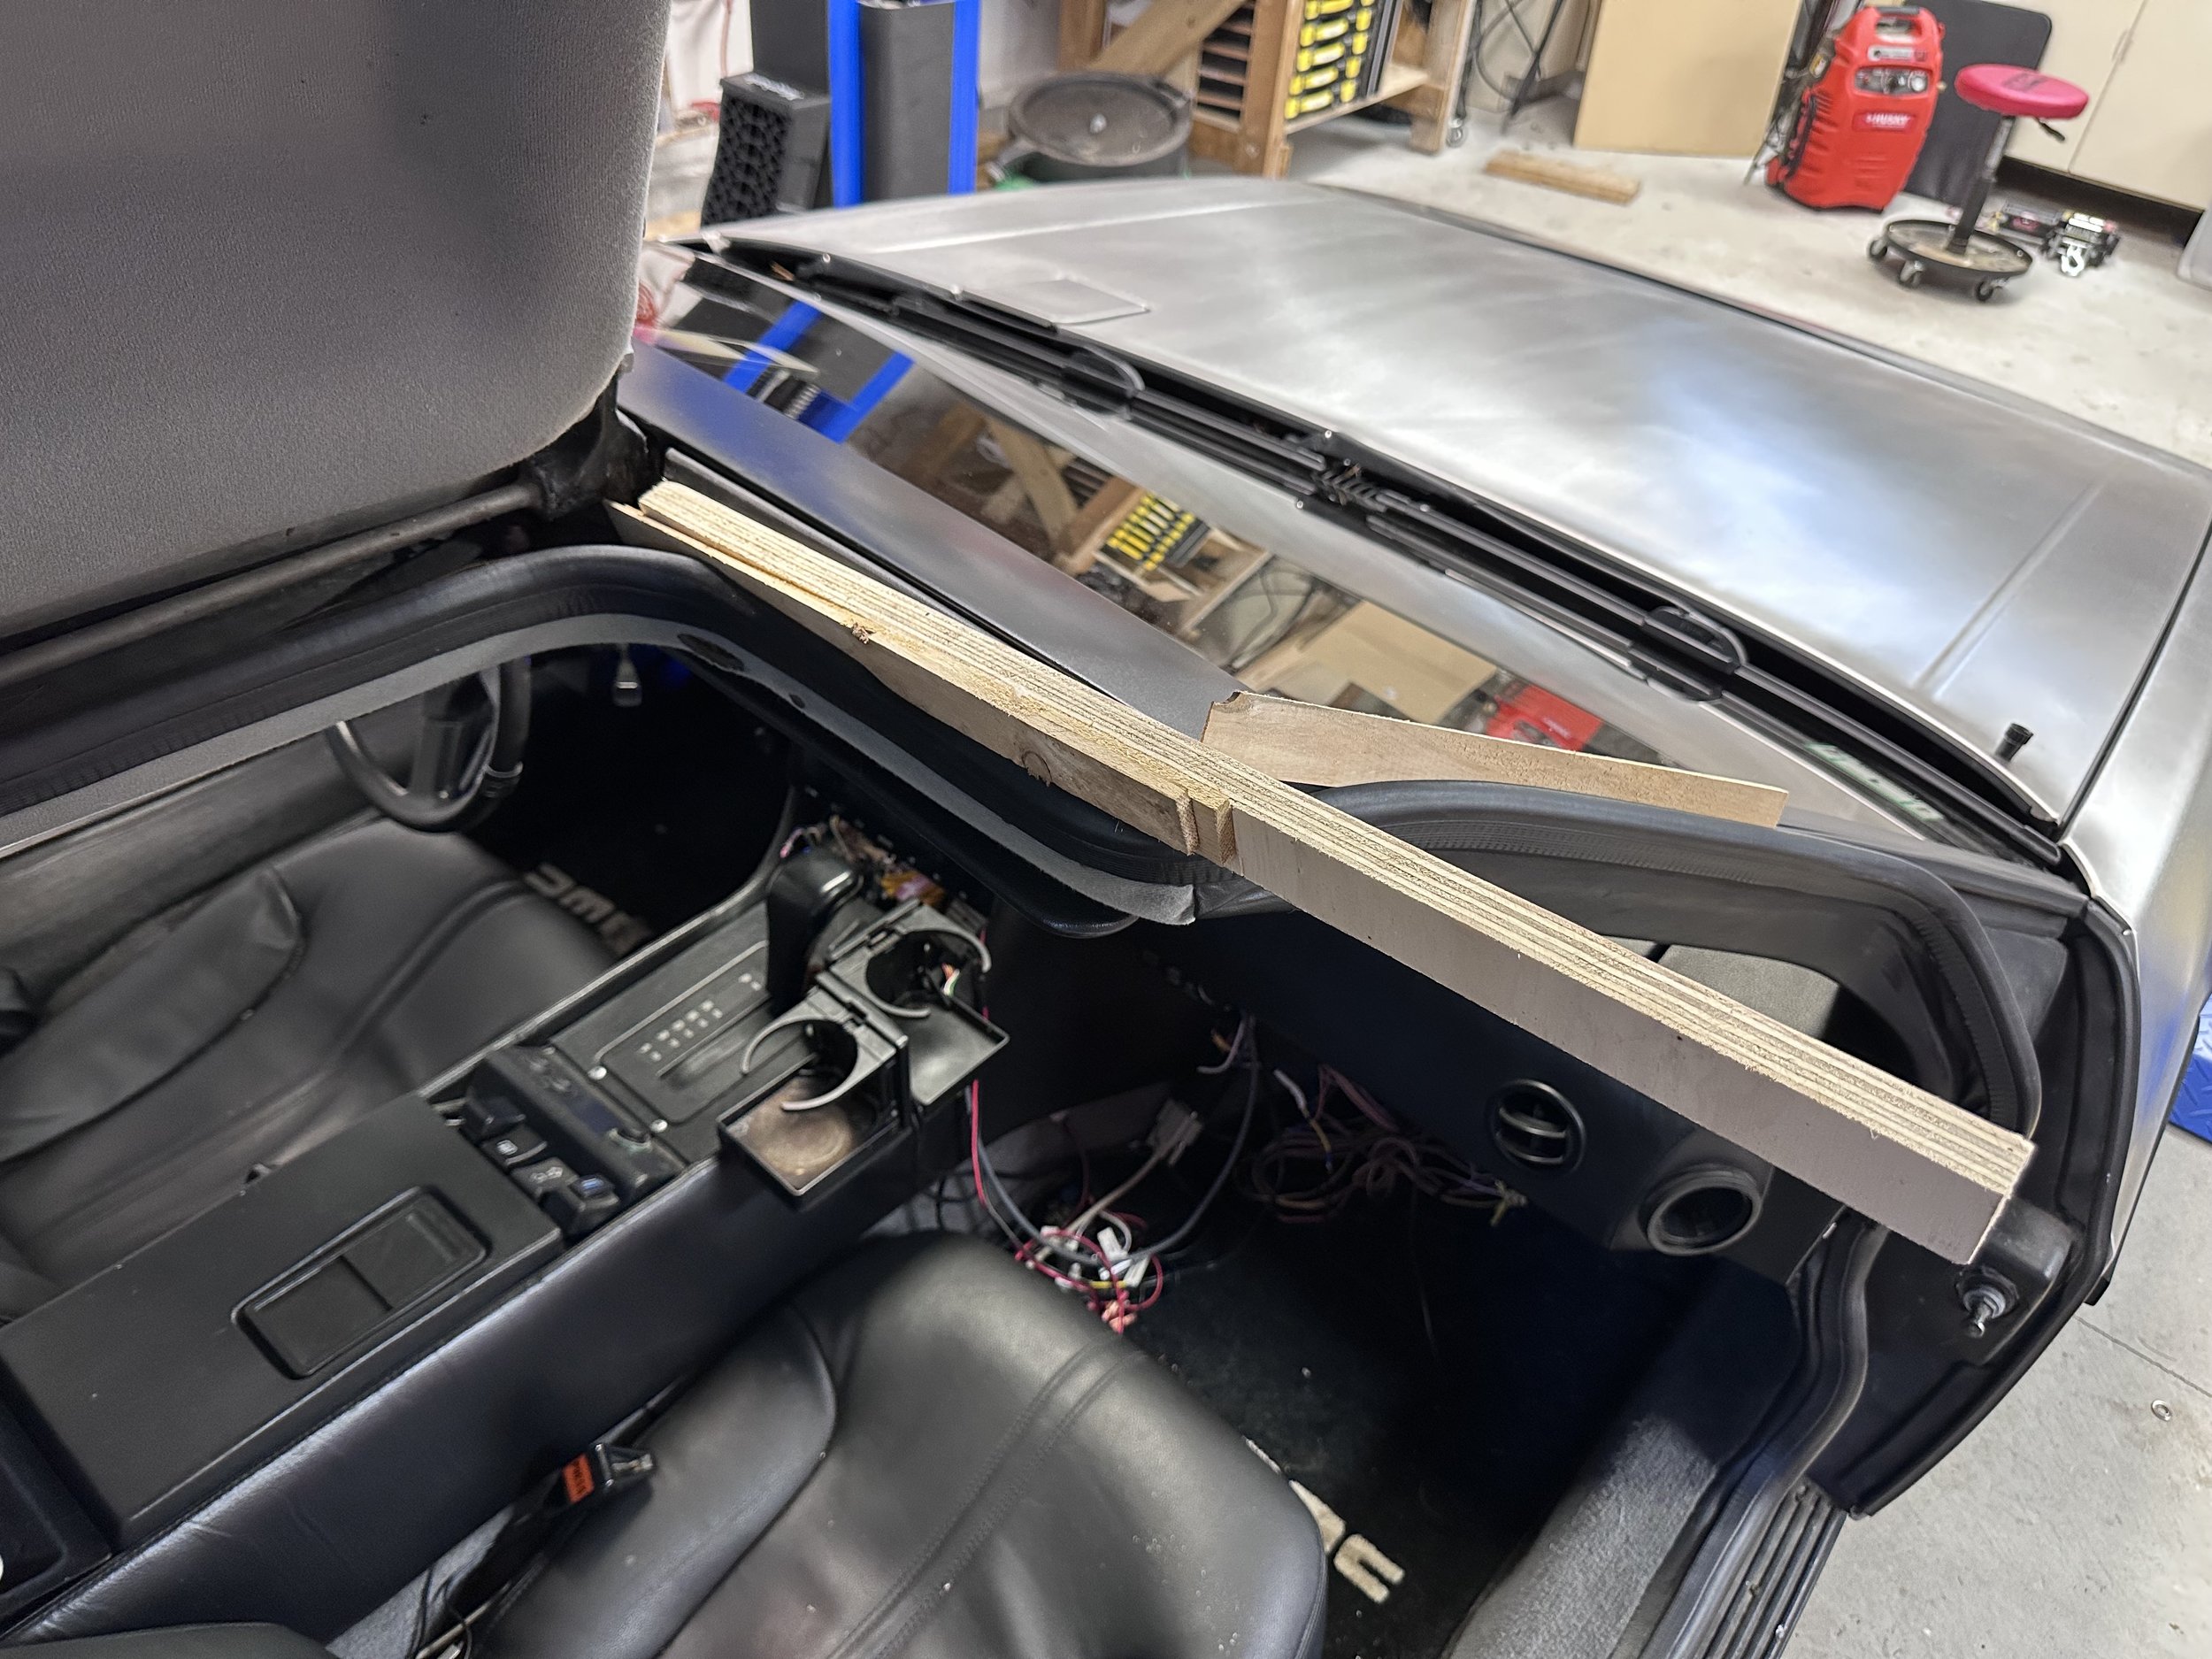
Yet another view.
Now I have a nicely painted windshield trim with no chips in it.