A Better Alternator Tensioning Bracket
Joe Angell
Update: October 2021
It has come to my attention that in the 2.8L cars, the 2.5” tensioning rod may be too long to fit with stock belts. I may simply have a longer belt on my 3.0L conversion, and thus it’s easier to fit on my car. Curiously, my link to Amazon no longer shows the 2.5” one, but now lists a 1.5” one that may well work better for 2.8L engines.
Update: September 2021
I came across this post on DMCTalk where an owner had this tensioner and a DPI powder-coated alternator bracket, and blew out his alternator (presumably the voltage regulator). After some back and forth with DPI, they realized that the problem was that the Teflon-coated balls on the tensioner and the powder-coated DPI bracket meant that the alternator was entirely insulated from ground. The alternator needs a ground to function.
If you install a tensioner, be sure to check for continuity between ground and the alternator housing after installation. If you have any doubts, run a ground wire from the engine to the alternator.
Anyone who has had to tighten the alternate belt on the DeLorean knows it sucks. On a 2.8L engine, the belt wraps around the water pump, main crank, and alternator pulleys. On a 3.0L engine, it also runs between two idlers and around the A/C compressor pulley (the 2.8L has a dedicated belt for the A/C).
To tension this belt, you have to loosen the bolts on the bracket and at the top of the alternator so that it moves freely. Then you wedge a pry bar between the alternator and the engine, and apply as much force as you can to get the belt to the proper tension, then while still holding the pry bar use two wrenches to tighten the bolts. As you can imagine, this is not easy to do by yourself.
As an Amazon Associate, I earn from qualifying purchases (learn more here), so if you want to support me, that’s a good way to do it.
Better: Belt Tension Jack
A tool that makes this significantly easier is a belt tension jack. I found one on Amazon a while back, and used it with reasonably good success. It has a design flaw that requires you to re-weld the heads on, but that’s still a lot easier than using the pry bar approach.
To use the hack, you put the ends between the main pulley and the alternator pulley, and use a wrench to push extend the hack and push the pulleys apart. Once the belt is tight enough you can tighten the bolts at your leisure.
It works, but it’s still a little hard to use, and the belt might still eventually slip over time.
The belt tensioner, after a few welded head repairs.
Best: Adjustable Tensioning Rod
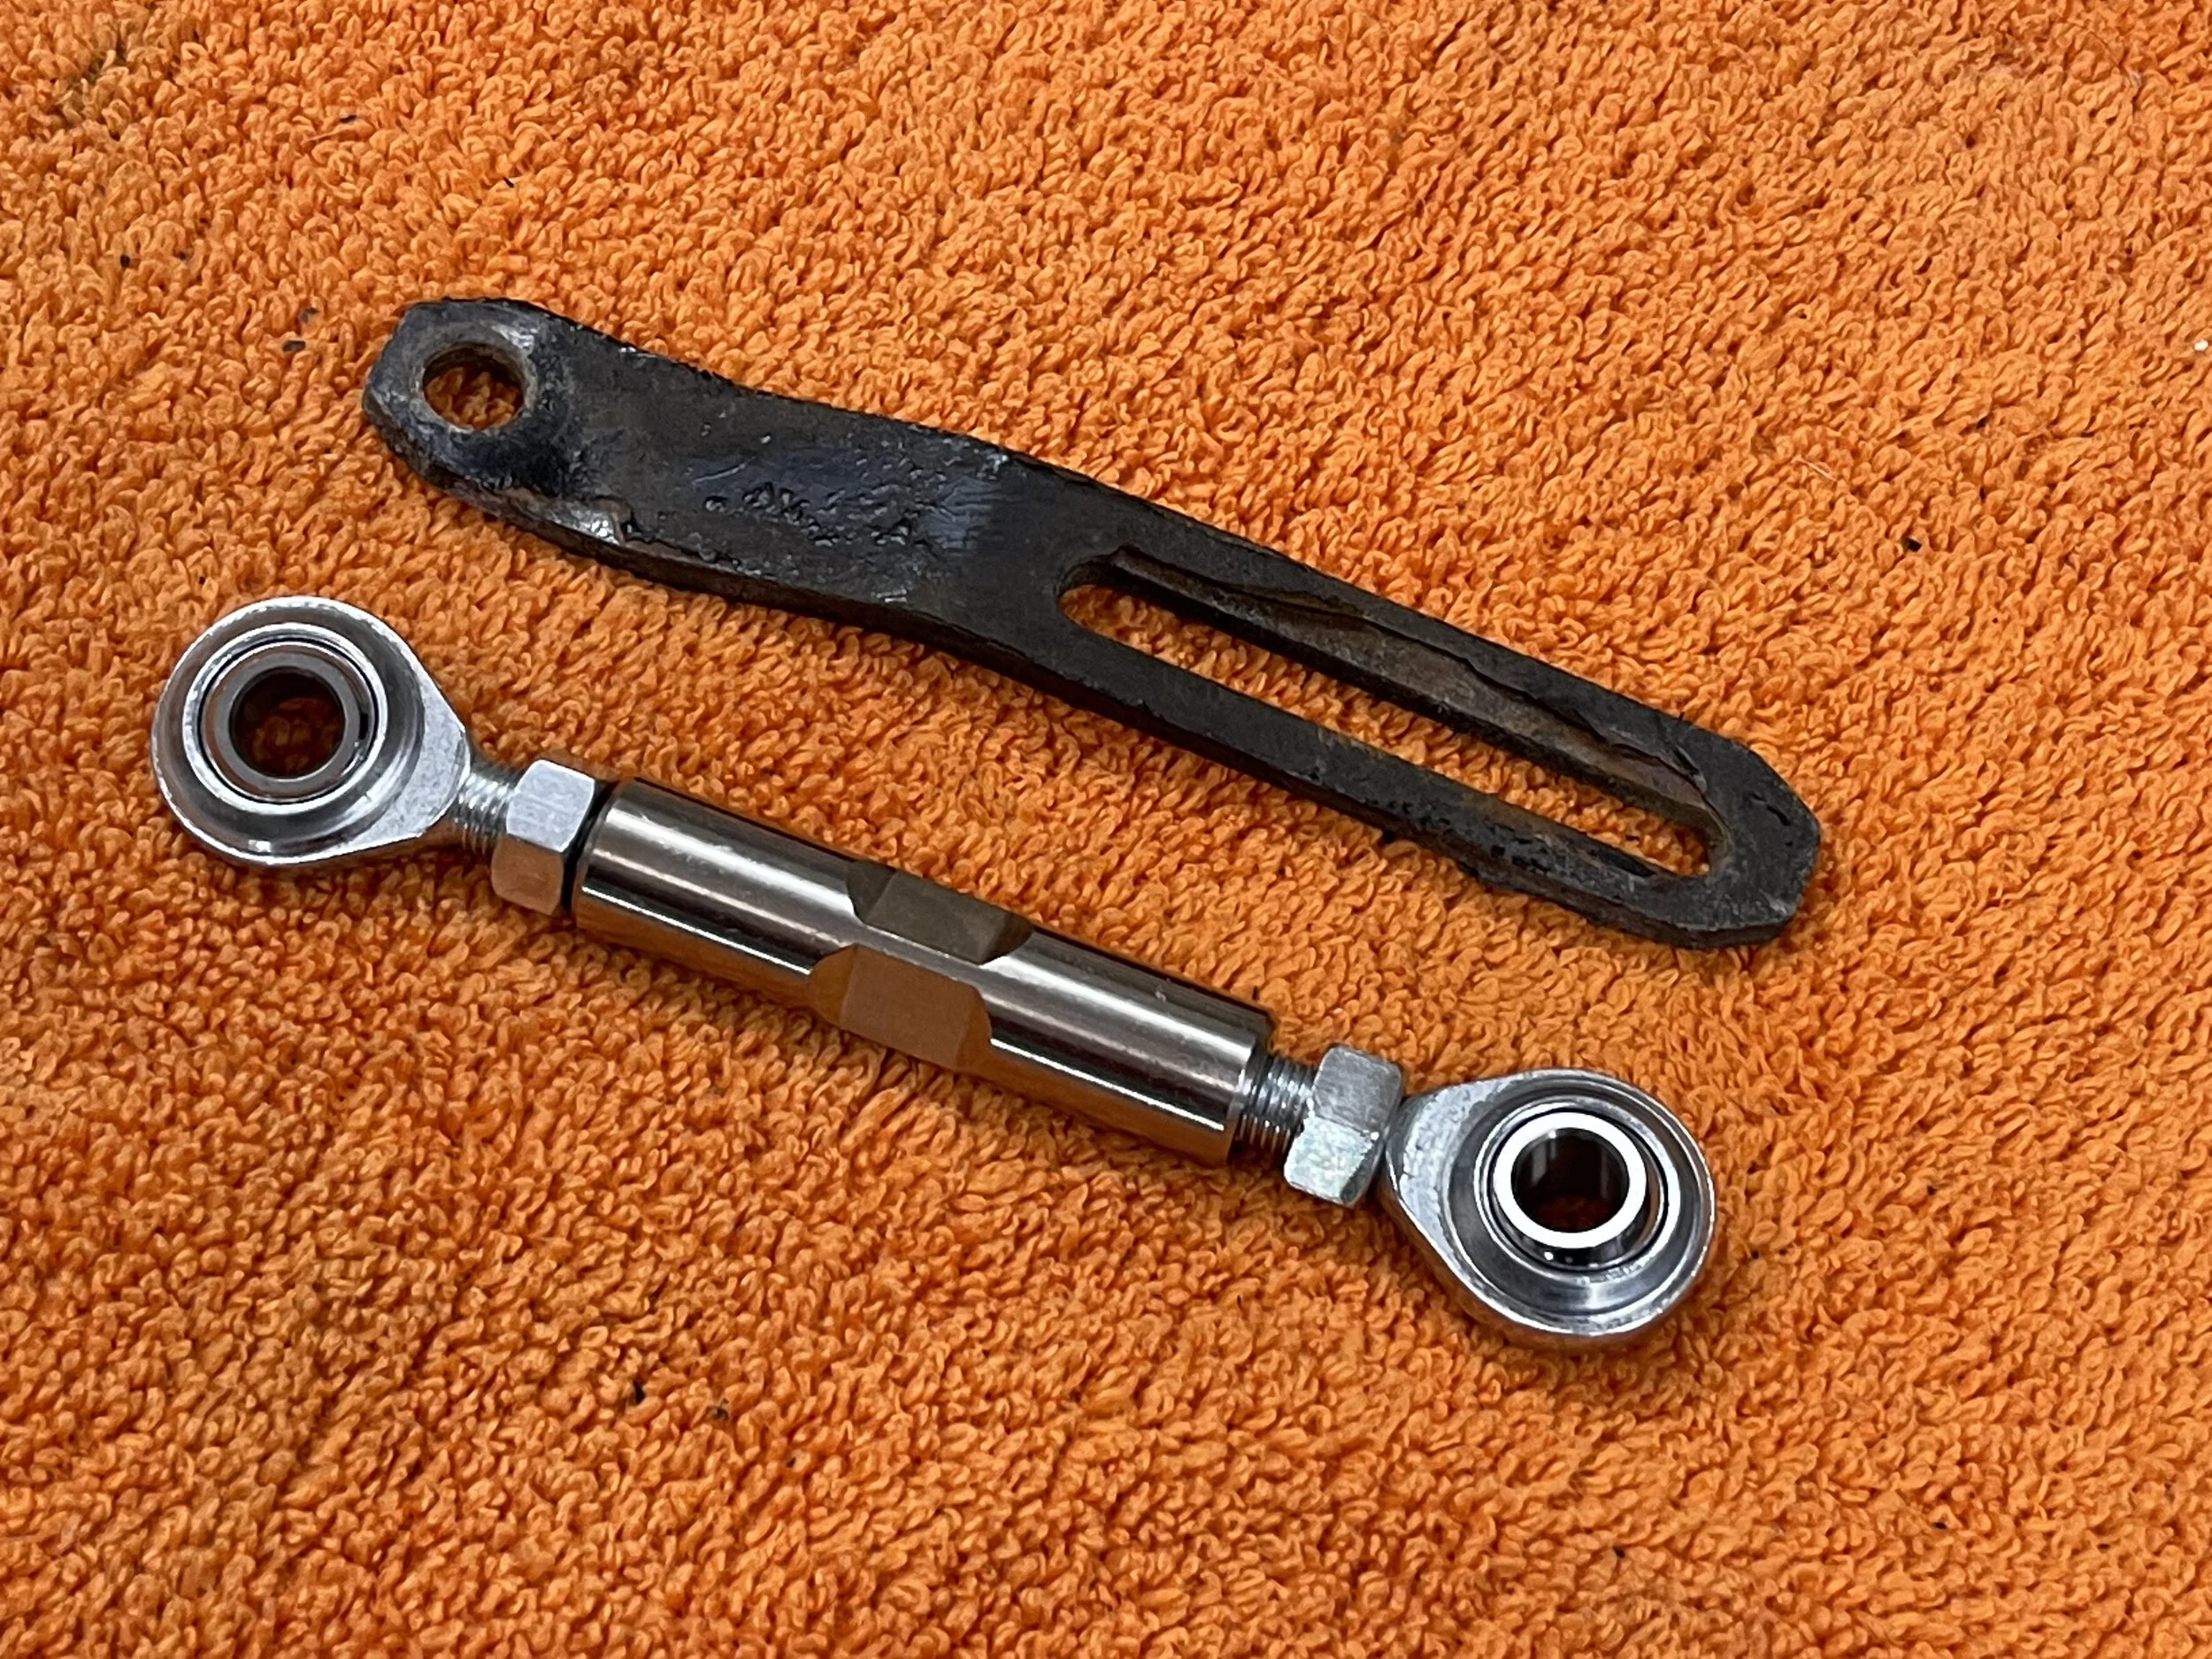
A cleaner solution is to replace the bracket entirely with an adjustable tensioning rod (aka turnbuckle, maybe?). These consist of two removable ends with ball eyes on the ends, which thread onto a central rod. You mount one end to the engine and the other to the alternator, then use a wrench to lengthen the rod until the belt is tight. Two lock nuts keep the rod from loosening on its own.
The one I got from Amazon had a 2.5” long center rod (although other cheaper ones should work just as well), allowing it to span between 4.5” and 6” — ideal for the DeLorean. I had been looking for one for a while but they were always too long or two short, but this one was perfect The eyelets are 3/8”. The smaller hole on the engine block meant that I just reused the 7mm bolt that was already there. It’s a little small for the eyelet, but it works fine. On the other end, I used a proper 3/8” bolt that was 1 1/4” long. I put a washer and lock washer on before adding the nut.
To tension it, I loosened the nuts, then turned a 9/16 wrench on the rod until the belt felt tight. Then it was just a matter of tightening the alternator side nut, the block side nut, the two lock nuts on the rod, and the nut on the top of the alternator mount. The belt is now tight, and will stay tight with no real chance of slipping.
It’s worth noting that this will work on both the 2.8L and the 3.0L engines. The 3.0L normally requires a special tensioner bracket that is bent due to the alternator sitting back a bit compared to the 2.8L, but the ball joints on the eyes mean that it can rotate properly to reach both mounting points while the bolts still run straight through the holes.
Since the threaded eye ends are removable, I could get a more properly sized one for the engine side that accepts a 7mm or close imperial equivalent that still fits through the block, but this seems fine, and the tension on the belt should keep it from slipping or rattling around.
NOTE: Be sure to check for ground on the alternator body. Some tensioners have Teflon coatings that will electrically insulate them. This normally isn’t a problem, but aftermarket powder-coated alternator mounts will also electrically insulate the alternator. If you use both at once, the alternator will have no ground and you’ll damage the alternator and need to get another one. If you have any doubt, run a dedicated ground wire from the alternator to a known good ground.
The turnbuckle next to the 3.0L tensioning bracket.
The turnbuckle fully installed and the belt tensioned.
