Power Window Regulator Replacement
Joe Angell
To compound the “my A/C leaks down in 36 hours” problem, my driver’s side window decided to stop working.
I started by testing the switch. I pulled it out of the center console, unplugged it, and used a PowerProbe to apply 12v to one pin and ground to the other. No effect. I swapped the pins to the probe, but still nothing. The power window regulator had died. I ordered a replacement from DeLoreanGo and got to work installing it.
Taking Apart the Door
To get to the window motor (aka “power window regulator”), you need to take off the upper and lower door trim. This is a bit of a pain, especially when you can’t open the window.
Upper Trim
The upper trim comes off first. It’s held in place with “fir trees”, which are plastic posts with ridges that push through holes in the top of the door. The pointed end makes them look sort of like an upside down tree. These are pressed into the trim, and are evenly distributed along the top edge. If you can get the window down, you can use a trim removal tool (basically a pry bar with fork on the end, although a normal party bar or even a large screwdriver will work) to pop them out. If your motor Is burned out, you get to do it from the edge of the door like I did.
I slide a long pry bar along the top of the back of the door, under the upper trim. This let me pop up the first fir tree, then I slid it further along the door and popped the second one, and so on. There is curved piece of metal extending from the trim into a cavity in the door; this simply pulls out. You’ll mostly deal with it when you put the trim back on, but it can help to know about it when taking things apart.
Once you have a few fir trees popped, you might be able to tilt the trim up a little. It just slots into the arm rest, and unseating one end it can give you a little more room to reach the other fir trees along the top. Once all the trees are popped, you can remove the upper trim and set it aside.
New fir trees are available from many auto parts stores. I had to replace some of mine when I first took the trim off years ago. They just twist into the trim pad.
The inside of the upper trim piece, showing the spacing of the fir trees. The curved metal clip is on the right of the picture, but is very hard to see.
The door with the upper trim removed. The moisture barrier was previously removed and not shown in these pictures.
Upper Edge
There is a black metal strip along the top of the window that also has to come out, as it covers the two posts that connect the window motor to the glass This is called the “door crossmember” in the parts manual. removal is easy — a series of Philips screws. I recommend doing the very ends first, then taking out the middle ones in order to avoid bending the ends.
Before you remove the screws, you should unclip the harness from the guide cliips. It just pops out. There were three clips in my door.
Removing the upper bracket with a power screwdriver. Do the very end screws first to avoid bending anything.
You can either remove the harness from the clips, or pull the clips off the door itself.
The removed upper bracket.
The upper trim and bracket are now removed.
Lower Trim
The lower trim is tricky in a different way from the upper trim. First, remove the escutcheon, which is the plastic tray around the switches and latch release handle. Pull the latch release handle like you were going to open the door, and slide the plastic tray forwards and upwards. Once you’ve moved it forwards a bit, you can put a finger behind and under the tray to hold the release handle from underneath, and then finish pulling the tray forwards and out of the car.
Power Mirror Switch
There are two ways to get the grab handle off, and to do the easy one you need to remove the power mirror switch. With the escutcheon out, you can fit a small screwdriver inside the hole one one side to release the plastic clip that holds it in place, then pry it up and remove it. Unplug the connector from the harness (don’t unplug the wires from the switch) and set it aside.
Inserting a small screwdriver through this hole will let you release the clip on the mirror switch and pry it out.
Grab Handle
As mentioned above, there are two ways to remove the grab handle.
The sides and bottom of the trim are held with fir trees. You can pop out the front and back and insert a very long Philips screwdriver (or a chain of socket extensions and a Philips bit) to unscrew the handle from its bracket. This works, but it’s quite annoying to get the screws back in.
The arguably easier method is to remove the entire bracket. If you look through the power window switch opening, you’ll see a bolt near handle towards the outside of the door. Peeking through the latch release handle will let you find the other bolt. A wobble extension and a 10mm socket are used to remove these. A thinner 1/4” extension will be much easier than a 3/8” extension for the rearward one.
The rearward screw is visible bay looking through the hole forwards of the latch release handle, near the lock switch rod.
The arrow is pointing to the forward bolt, which can be seen through the power mirror switch opening.
A 1/4” extension (bottom) doesn’t look much smaller than a 3/78” one (top), but it’s much easier to fit fro the rearward bolt.
Screws and Fir Trees
At this point you might want to pop out the fir trees, just to have them loose. They run around the three outer side of the trim. The fourth side is secured with Philips screws.
Five or so of the screw come out and the rest stay, as they hold the door latch handle and lock switch on. I never remember which five have to come out, but definitely the ones on the ends, one forward of the switches, and two above and behind the handle. If you take off too many, it’s not a big deal; the handle and switch won't come all the way off without removing the two other screws behind the trim.
At this point you should have the trim off and should be able to set it aside. Note that the grab handle is now loose in the trim, basically, but won’t fall out due to the bracket.
The marked screws are the ones that have to come out to remove the lower trim (at a minimum).
The trim pieces completely removed them the door.

The major pieces that were removed.
Removing the Old Motor
To start, you’ll have to deal with the moisture barrier, which is a plastic sheet designed to keep water (condensation, mostly) away from the electronics. You won’t be able to completely remove it without taking off the door latch handle and lock switch bracket. This involves unclipping the rods that run to each (just use pliers to pull the clips upward and off the rods themselves, then pull the rod out of the switch/handle), and removing two bolts in the door. You don’t have to do this, but it might be easier if you do. The rods run through slits the moisture barrier.
Either way, you’ll have to at least peel back the moisture barrier. It’s glued down with a reusable strip of adhesive. It just pulls off.
I already had a new-style motor in my door, which I installed around 15 years ago. I don’t at all remember how I did it. I also could not figure out how to get it out in one piece, so I partially disassembled it in the door.
Removing the door side of the grab handle bracket will make things much easier. I have door actuations from DeLorean Parts Northwest, so I marked the rod positions and unscrewed the block that mates the rods so that I could remove the handle. Also notice that one of the mounting posts for the window regulator goes through the back of the bracket; the nut needs to be taken off before removing the bracket. After that, you can use a Philips screwdriver to remove the bracket itself (I replaced these with bolts when I reassembled it).

Removing the grab handle bracket from the door. I replaced these screws with bolts on reassembly.
There are two more nut just under the window, but I needed to lower the window to get to those, so I started with the motor. I removed the two bolts that held it to the bottom of the door. This was more annoying than I expected, since there are nuts behind them. I used a 10mm flex head wrench to hold the nuts in place while I remove the bolts with a socket. I also removed both arms from the mount itself.
Removing one of the old mounting screws/bolts (I replaced these with screws on reassembly). The box wrench is holding the nut while the other wrench removes the screw/bolt.

And the other mounting screw.
With the motor free, I was able to lower the window enough to get to the top two nuts. Those came off easily.
The two posts at the bottom of the window, after removing the regulator guide from them.
Now how to get the motor out of the door. After much fiddling, I pulled unbolted the motor from its mounting frame. This is three bolts to the plate, with three spacers between the plate and the motor assembly. Taking that apart made it much easier to twist the motor out, although it was still a bit tricky.
As a final test, I hooked the motor’s leads to a 12v battery and confirmed that it was indeed dead.
The DeLoreanGo unit was made in Italy, while my old replacement was a Bosch unit. I thought I might be able to find just the motor part for future use, and tried googling for it. Turns out it costs as much as the entire assembly, and is used on some older VWs, Jaguars and Ferraris. Not exactly a commodity part. DeLorean vendors are really the best way to go for this.
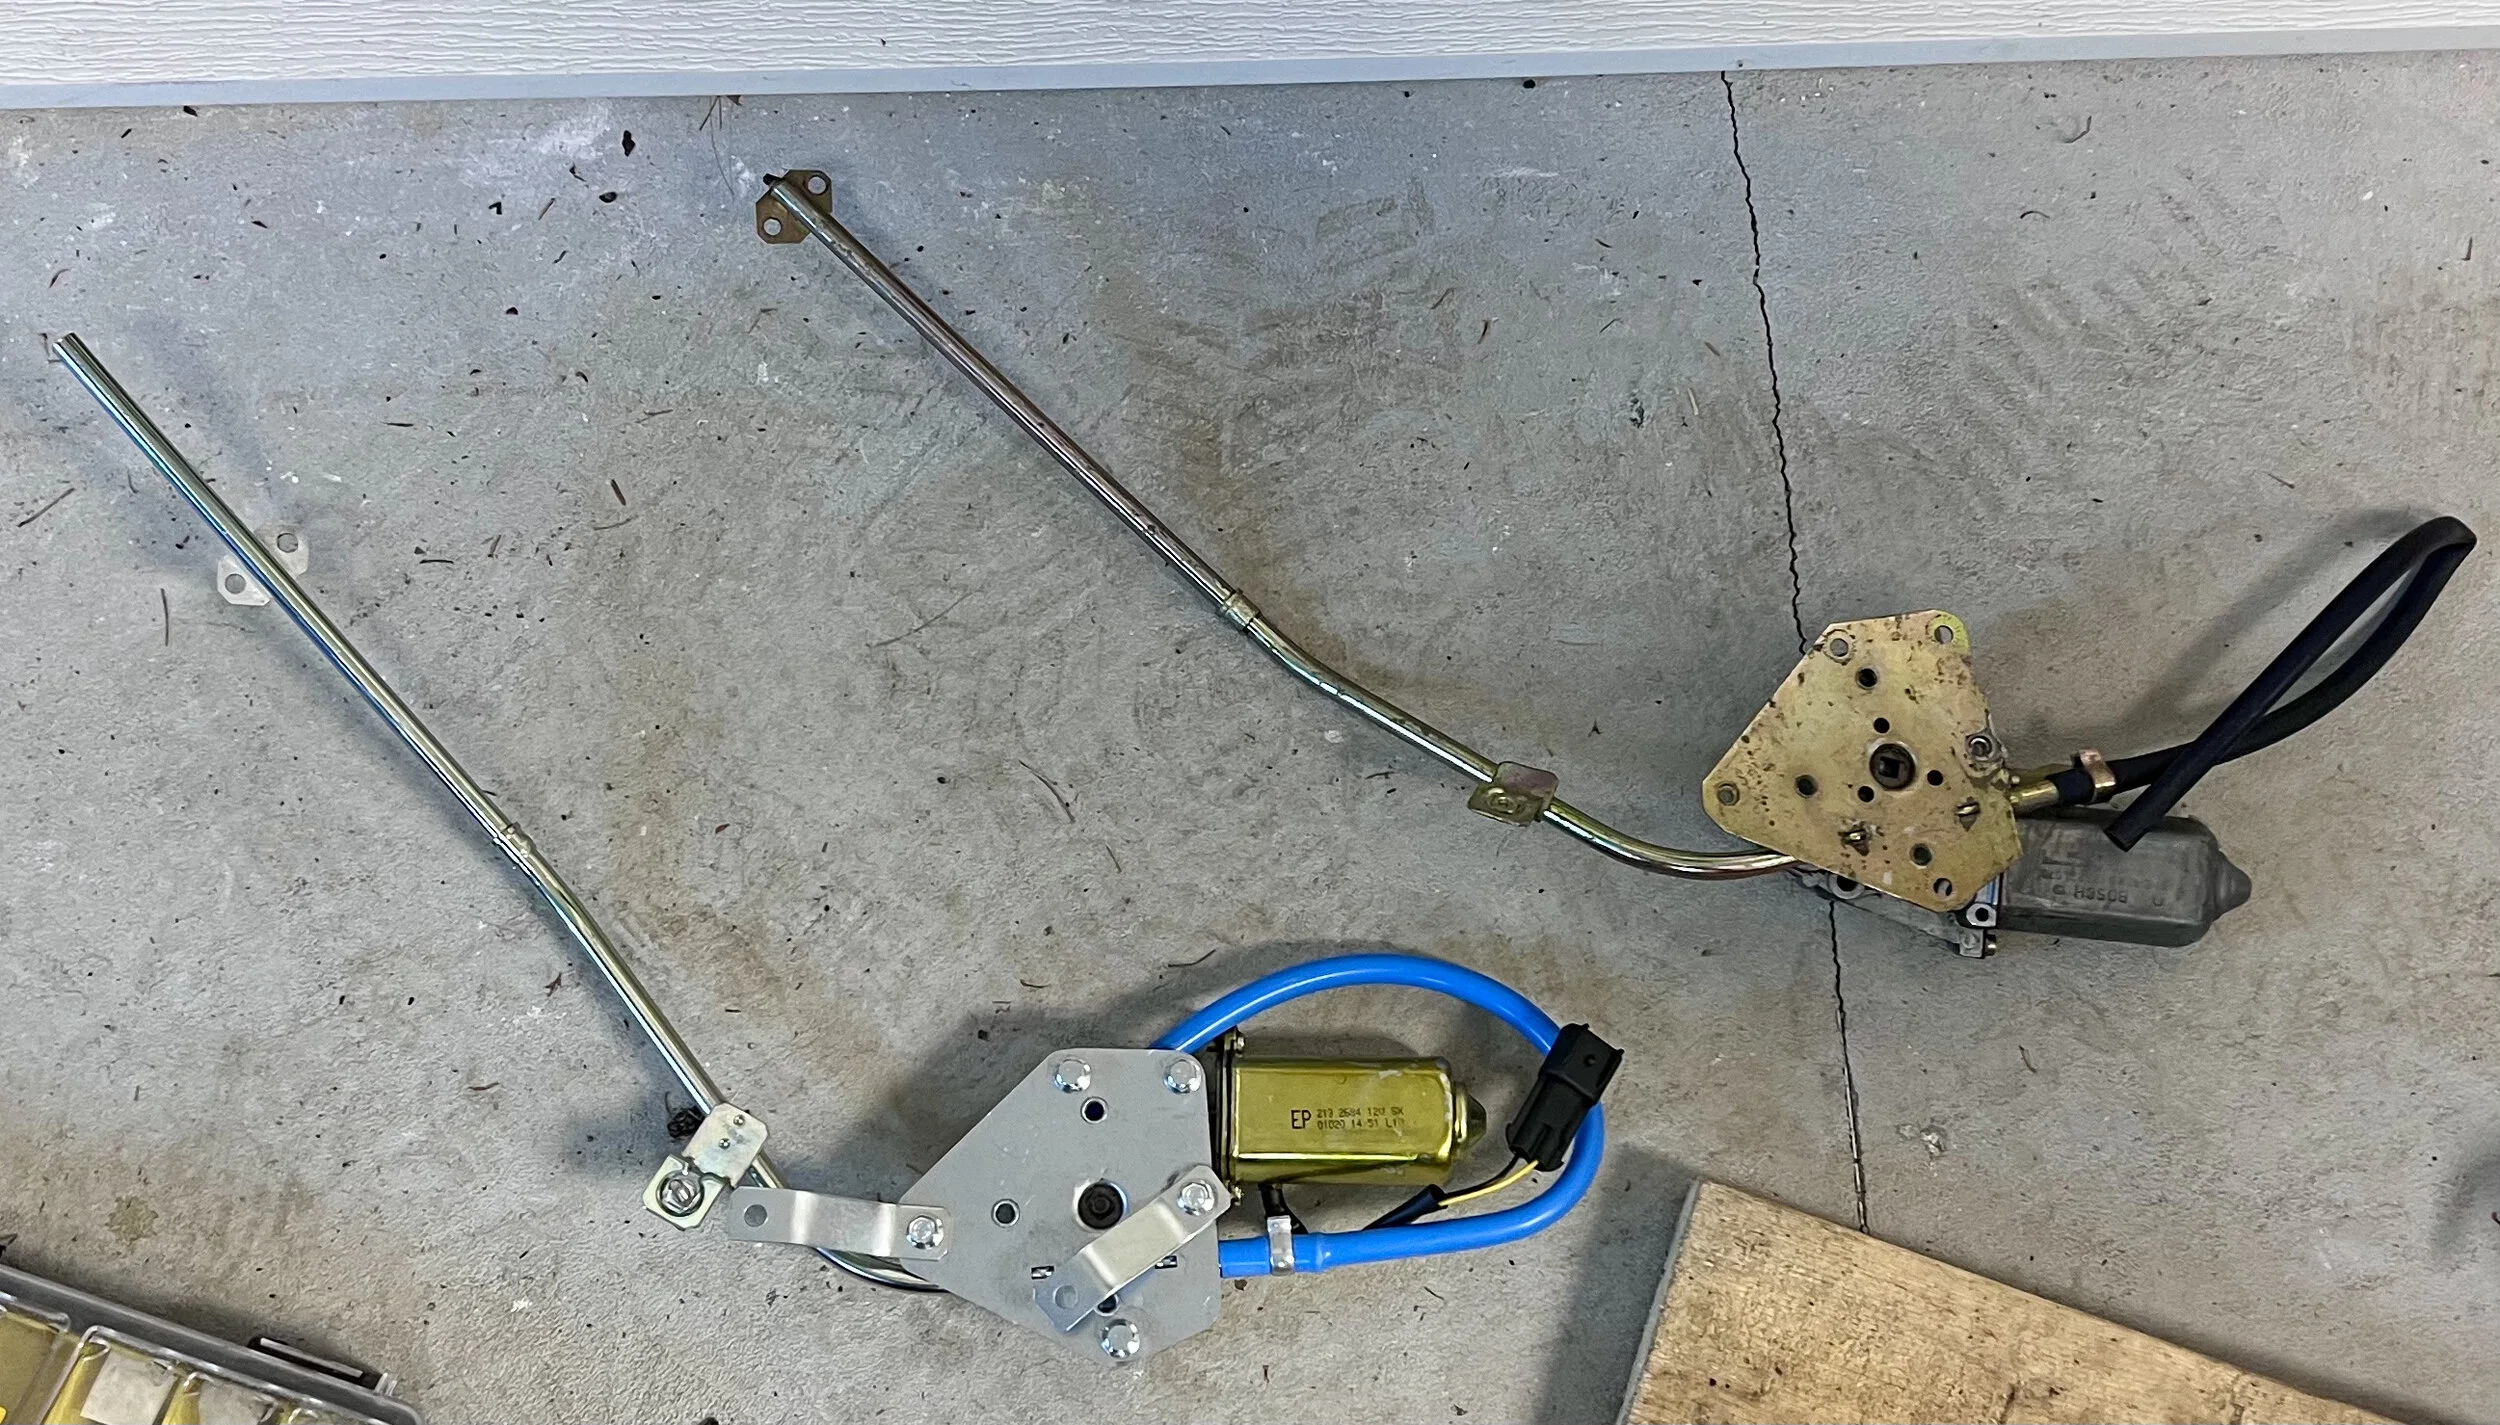
The old (upper) and new (lower) regulators. Note that these are both the new style; I replaced the stock one 15 years ago.
My new motor is made in Italy, wile the old one was a Bosch unit.
Installing the New Motor
Installation is theoretically the reverse of removal. In practice, though, it’s a huge pain to get the motor into the door. I attempted to fit it fully assembled, and just couldn’t do it.
I don’t know how you’re supposed to fit this without more disassembly.
I took the mount off the motor assembly as I had done with the old motor. To avoid having to line up the spacers in the door, I used a hot glue gun to hold them in place. I found the best technique was not to put glue between the spacers and the mount, but rather put the two together and hot glue around the spacer, creating a kind of hot glue sleeve that held it in place. This also avoided getting glue inside the threaded hole in the mount.
Surrounding the spaces with hot glue to hold them in place before inserting the new motor into the door.
I also transferred the bolt from the middle of the guide rail to the new motor, as per the instructions.
The central guide rail bolt has been transferred from the old unit to the new one.
After finagling the motor inside the door, I slide it forwards to the grab handle bracket opening and reattached the mount, then slide it back to where it goes in the car.
Reattaching the mount to the motor.
I put the grab handle back in (with bolts instead of screws, as I find screws too easy to strip), then attached the regulator’s guide bolt to it. It was sort of twisted and seemed improperly aligned to the handle, but I was able to get it straightened enough and loosely slip a nut on. No regulator bolts should be even slightly tighten until everything is in place.
Securing the guid rail bolt to the grab handle.
The arms on my DeLoreanGo unit were mounted differently than the ones in my previous motor, and did not match the instructions. The bolt that holds the arms to the mount was too short for the stacked arms, so I reused the longer bolt from my old motor. It probably is possible to attach the motor to some other mount point, but I knew this worked, so I stuck with it. I attached these to the mounting points as per the instructions.
The hard part was the drop glass mounts. I was able to get one on, but the other was being difficult. I finally had to use a pry bar to get it aligned enough to mate them, then spin on a nut a little, and used a socket to get it on the rest of the way. With that in place, I tightened the central nut, and then the two mounting bolts. I again needed the flex-head wrench to hold the nuts while I tightened those bolts.
The instructions suggested blade connectors that just popped onto the motor, but the unit I got had a plug and came with a harness. I simply crimped a couple of blade connectors onto that and plugged everything in. I turned the key and the motor moved up and down as expected (I’d guessed the wires correctly the first try). Note that with the door up, you’ll need to guide the window up by hand or it won’t fit properly in the frame, which is part of the reason you shouldn’t operate the windows when the door is open.
Reassembling the Door
First the moisture barrier goes on. You should be able to reuse the adhesive strips that were originally in the door. If not, you can buy new rolls of this from DeLorean (one roll will do a dozen doors), but it’s a bit expensive. You can probably just reuse what you have, or buy something similar elsewhere. I found a post on DMCTalk.org that suggested butyl sealing tape, and bought a $12 roll of that.
Fully installed moisture barrier. I had removed the latch release handle and lock switch, but that isn’t strictly necessary.
Butyl seal tape is an easy and cheap way to attach the moisture barrier to the door.
Now the lower trim. I held it up, then re-installed the screws along the door, and then the fir trees (use a screwdriver to line up the fir trees, and once they’re all aligned, firmly press the trim into place). The grab handle bracket is trickier now, but not terribly so. With the door up, you can push the handle against the door and insert your 1/4” wobble socket extension with the bolt already in it. I found it easiest to start with the power mirror switch side first, then the release handle side. The rod from the lock switch runs past the rearward bolt, but it can be flexed out of the way with your socket.
I did the upper bracket next, reinstalling all the screws and clipping the wiring harness back in place.
Finally, the upper trim: lower the window, slide the trim in place, and line up the fir trees, using a screwdriver or pry bar to pull them into their holes. On the back of the door there is that curved metal piece that now needs to be flexed upwards and into the cavity in the door. Once that’s done, you can either firmly press or top them down until the trim is flush.
You should now be all set and have a working power window.
Blowing Fuses
And I did, for a couple of days. On one drive, my driver’s window was going down very slowly, but up was fine. On another drive, it barely moved, and then the radio lost power — I’d blown the fuse.
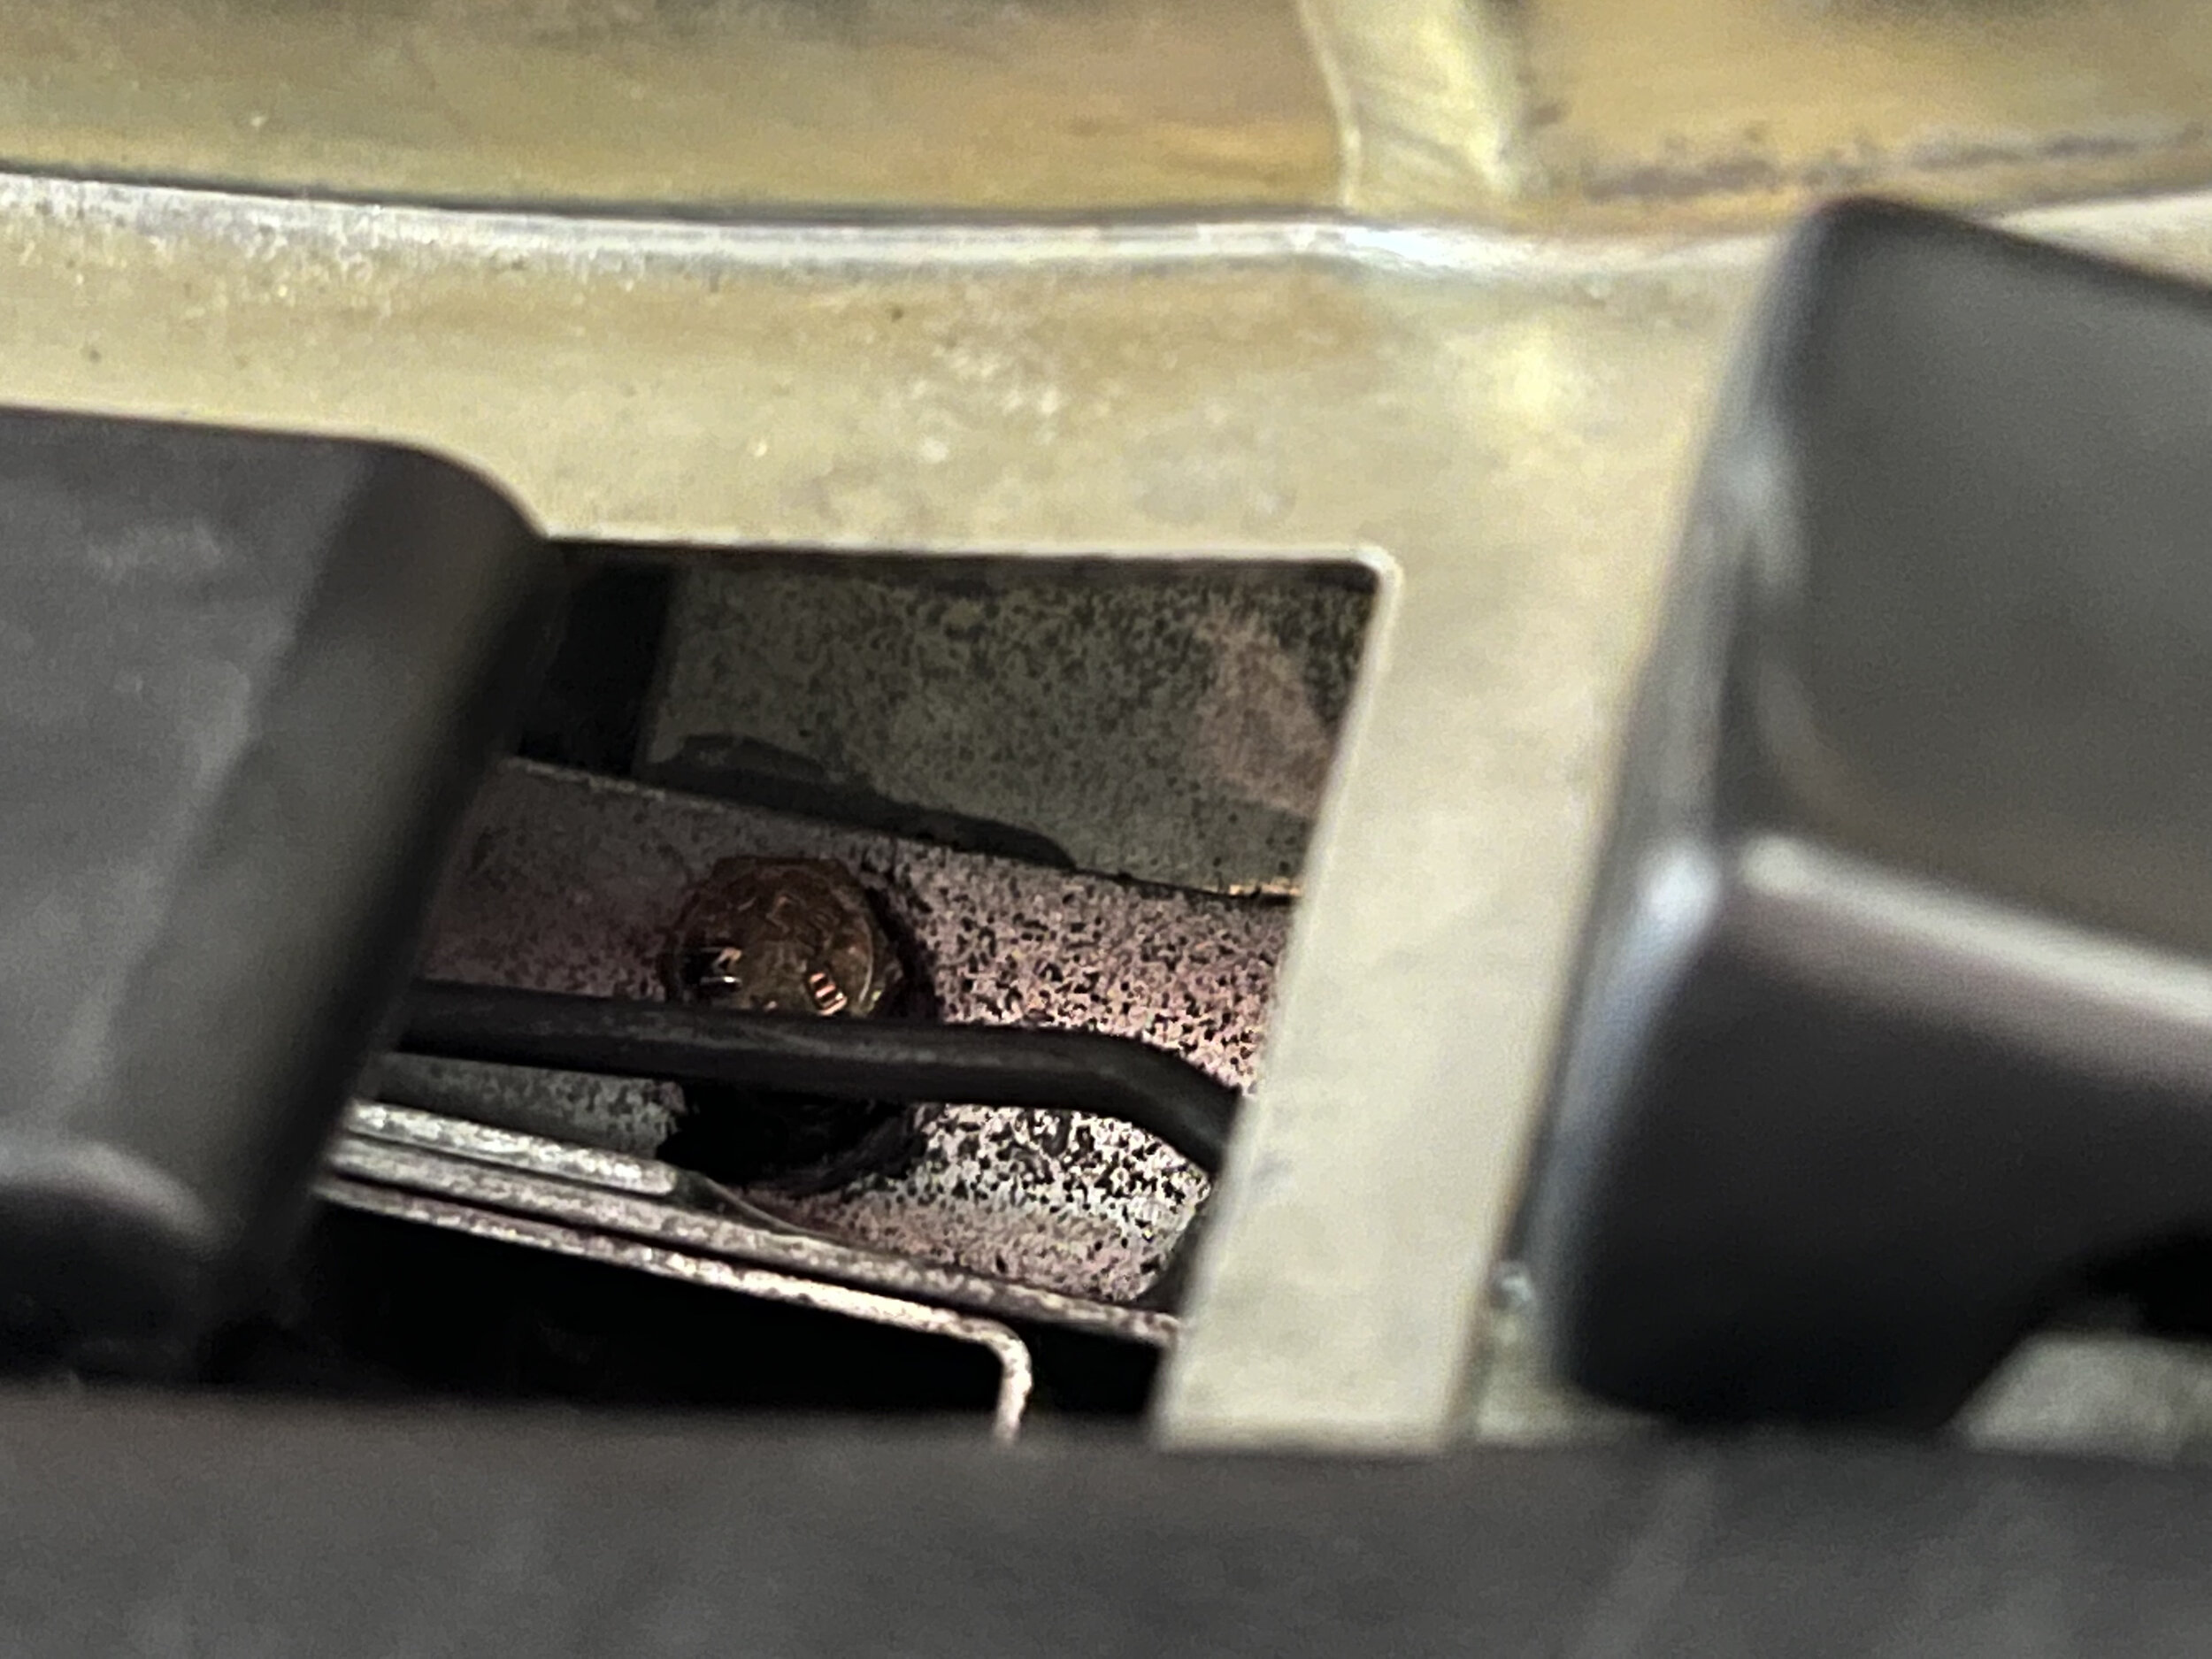
That weekend I took the door apart to figure out what had gone wrong. I’d assumed the window was dragging, but it turns out the issue was much simpler. When running the window, I saw sparks from the base of the door near the motor, and then the fuse blew again. There was a small amount of metal in the blade connectors that was exposed, and it was coming in contact with the metal of the door. When the window went up this was fine, since the wire is ground in that situation, but on window down the polarities are reversed, and the wire now carried 12v, and was shorting against the car.
I replaced the fuse, wrapped the connectors in electrical tape, and everything was fine. I put the door back together and haven’t had a problem since.
Wrapping the connectors in electrical tape cured my shorting and fuse blowing issues.